Visual Editor
You can build custom tests using the Visual Editor.
We will test some endpoints in the MyStore API, so if you want to follow along, subscribe to the API for free here.
RapidAPI Testing LinkTo get started, navigate to Studio.
Once you have logged in to your account, you will be able to see all your APIs. You can click on one of them to add tests to or create a new API to test.
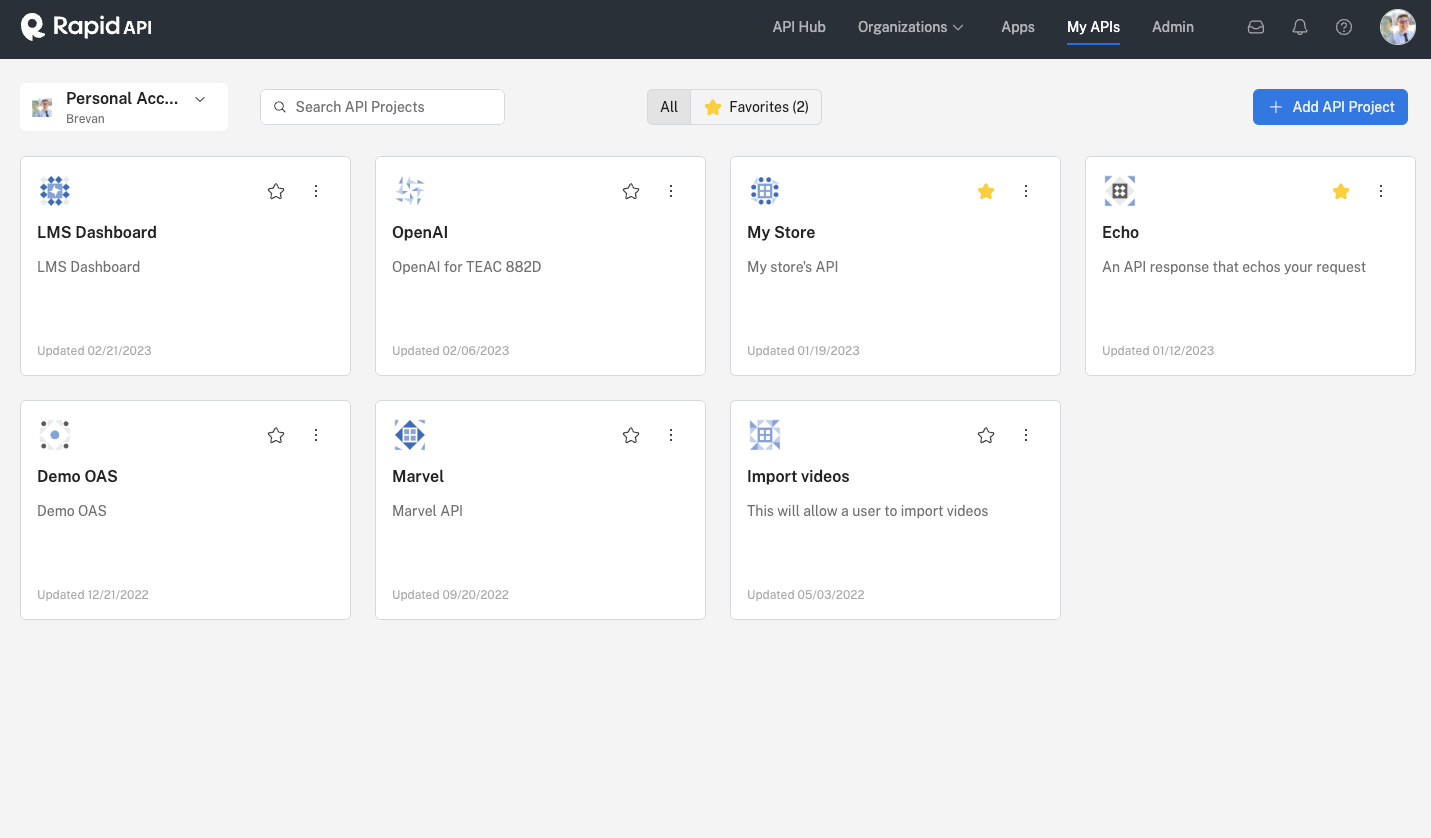
Once you click an API, go ahead and create a test. You can give it any name you'd like. Click the pencil icon in the test row to edit it.
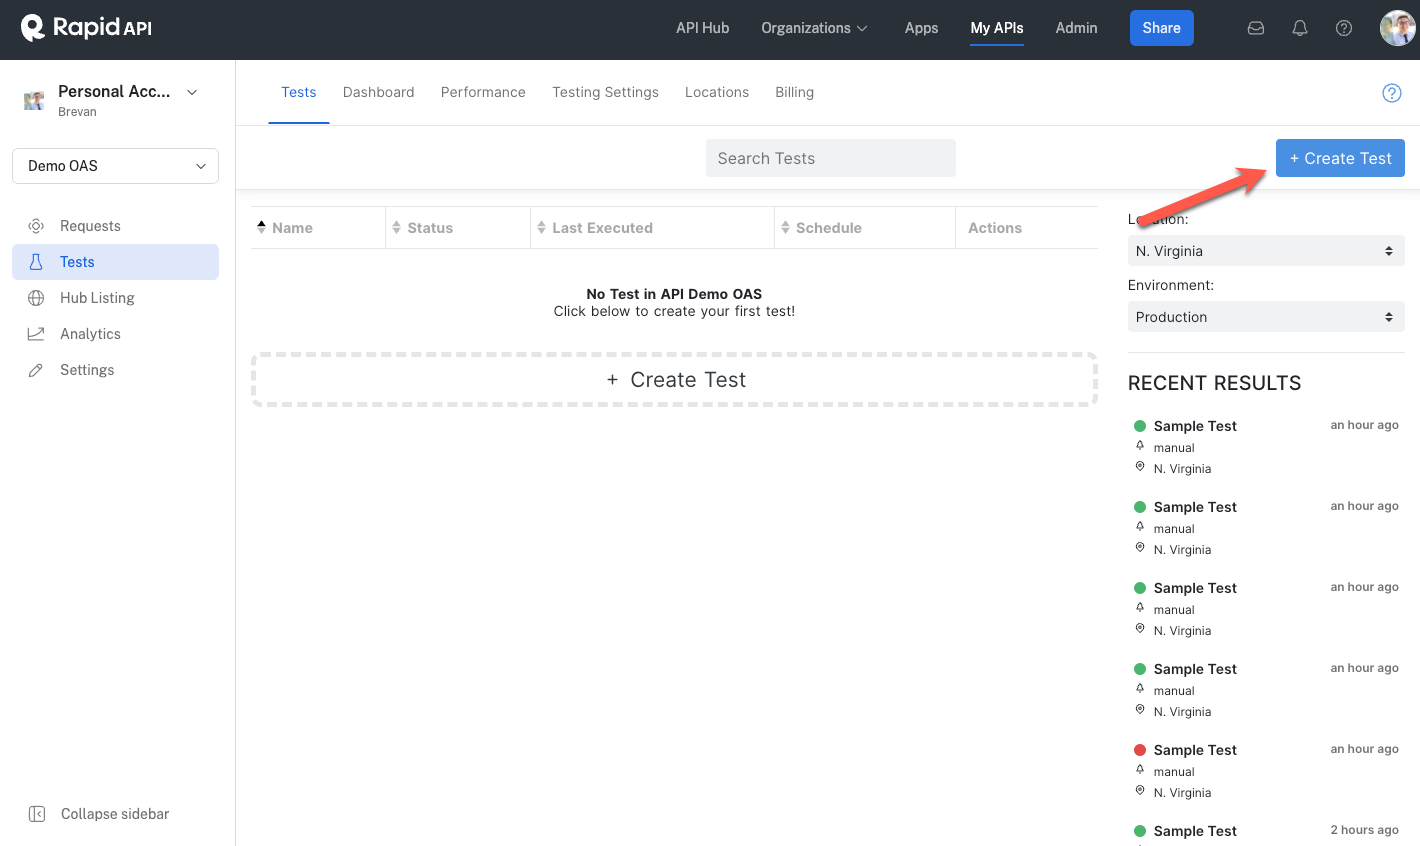
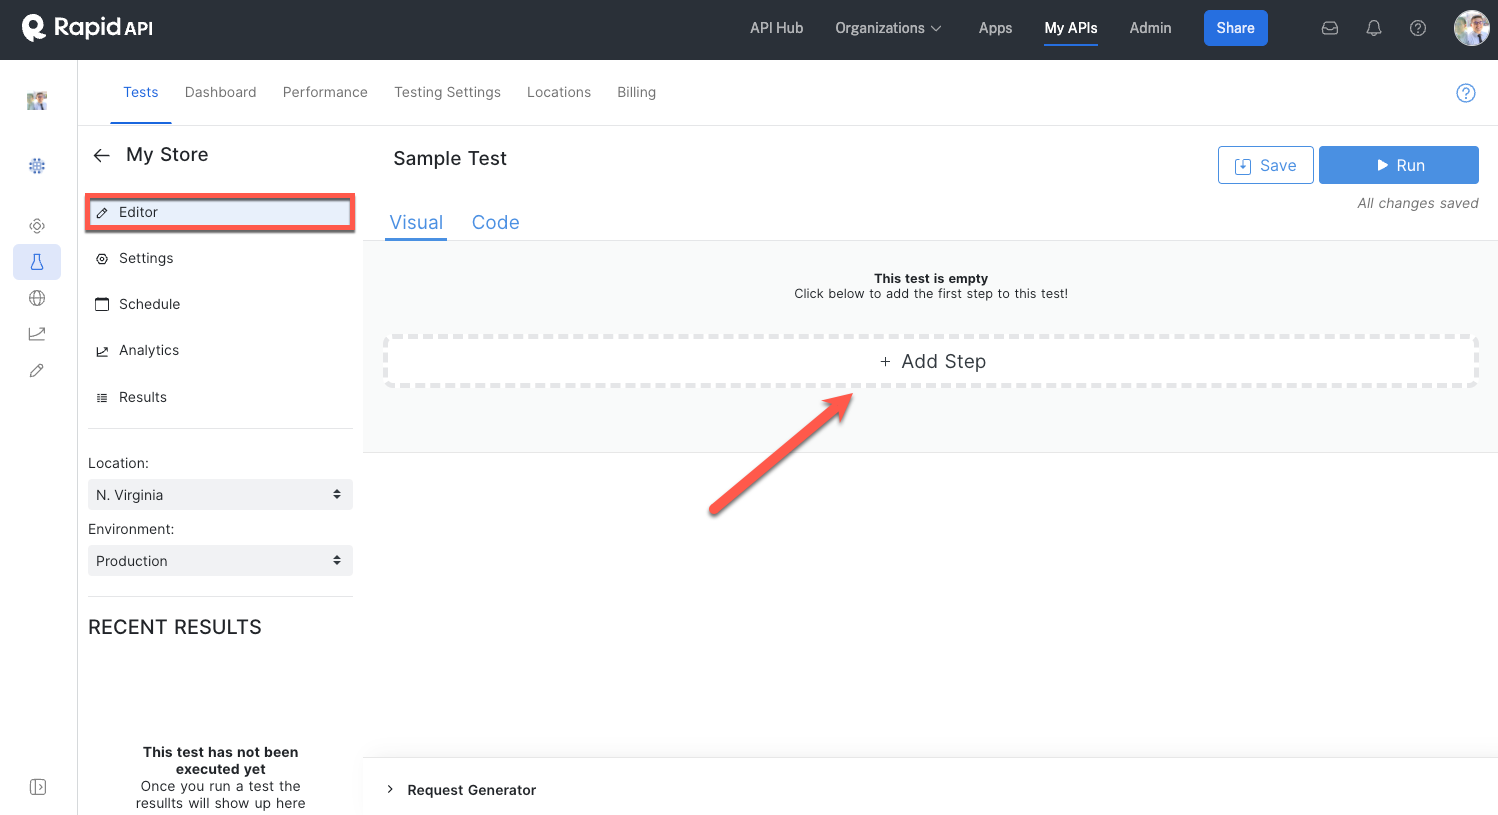
In this test, we will test the Get Categories endpoint in the API.
Click "+ Add Step" to add the first test step.
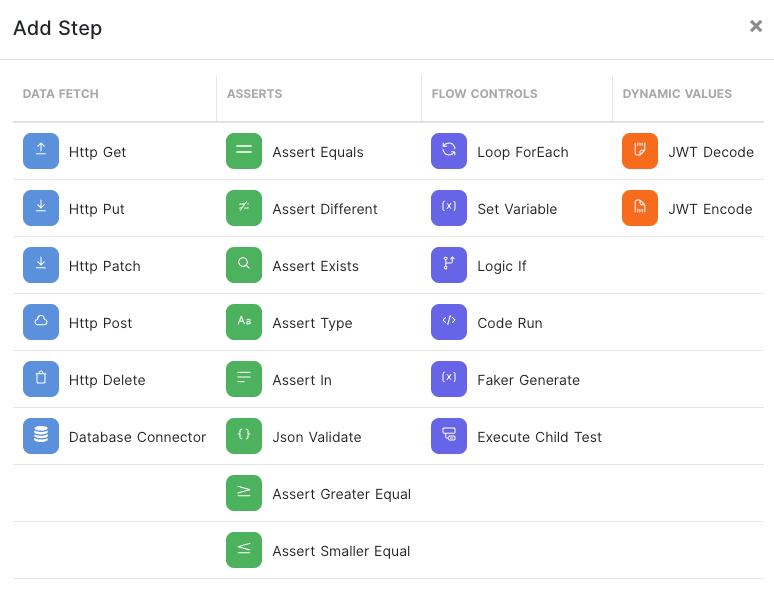
You will be prompted to choose from the following options:
- HTTP Methods: HTTP GET, HTTP PUT, HTTP POST
- Assertions: Assert Equals, Assert Exists, Assert Type, Assert In, JSON Validate
- Advanced Options: Loop Foreach, Set Variable, Logic If, Code Run
For our example, we will choose HTTP GET. We can add a URL and a variable (a). You can also set the URL parameters and headers using the tab.

You can find the URL for the API from the RapidAPI Hub.
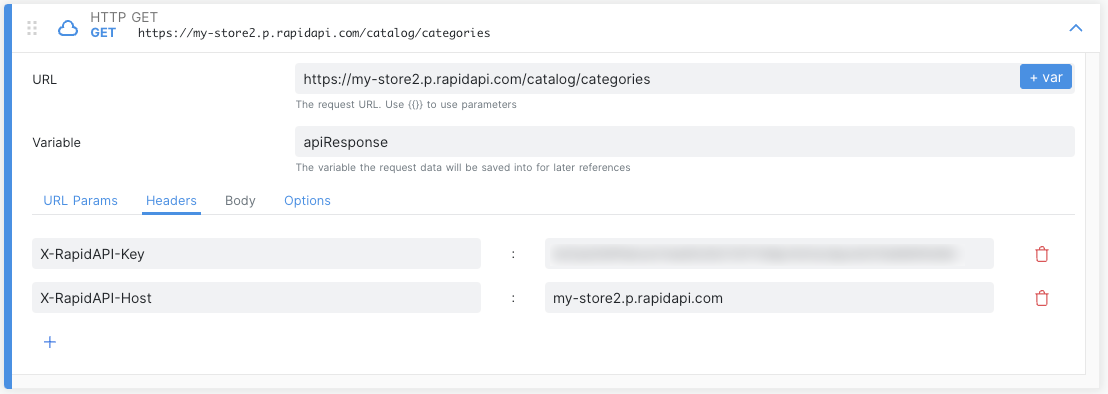
Making Assertions
Let's add an assertion to our test.
Select "+ Add Step" and select the Assert Equals option.
You can build assertions from context variables. In the previous step, we set the variable a. Therefore, we can assert that API status is 200 using the expression a.status and setting the value to 200.

Running the Test
For a test to be successful, all steps of the test must pass. Save and run the test by clicking the button in the top right corner.
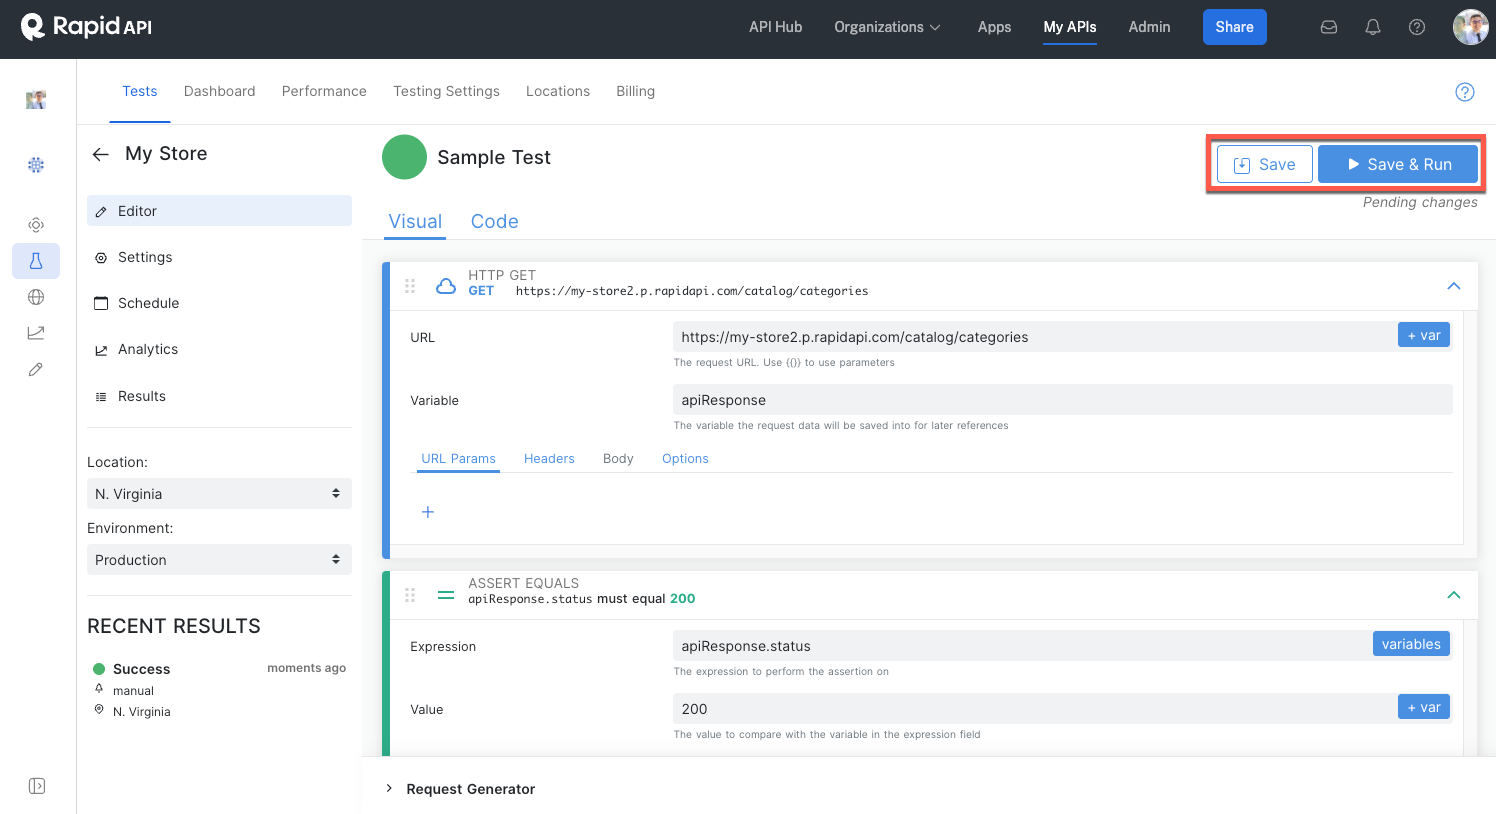
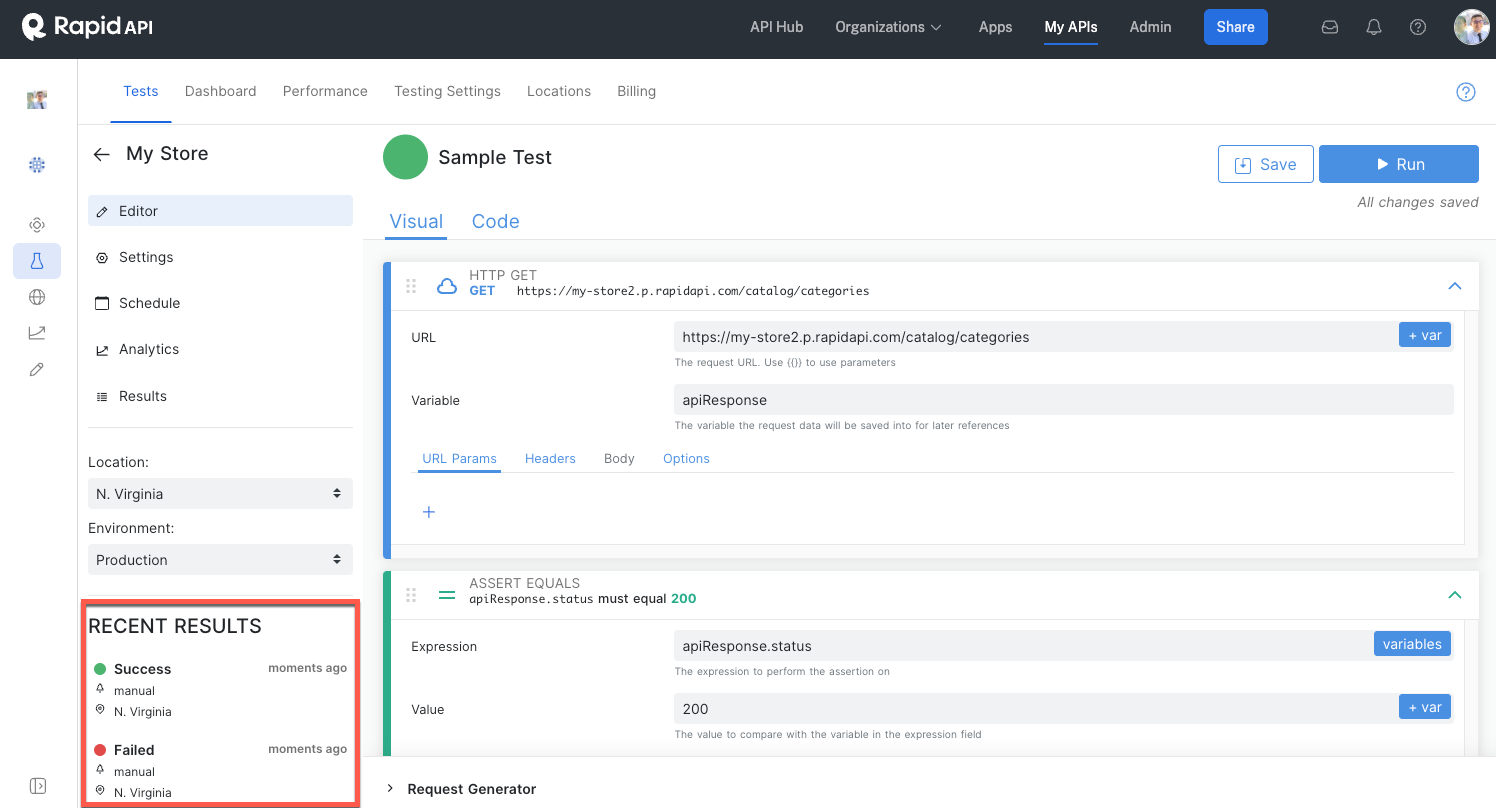
You can see the test result (sucess or fail) on the left-hand side:
Click on a test result to view more details:
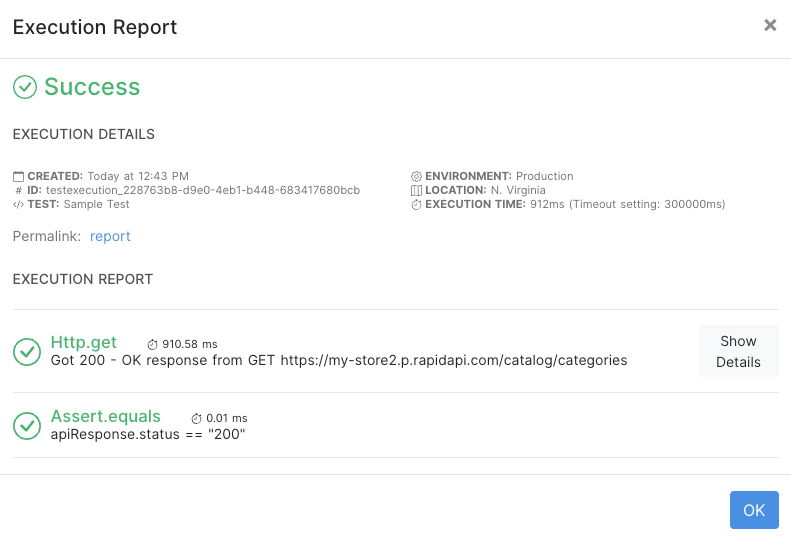
Now that you have created a basic test consider doing the following steps:
- Scheduling ongoing instances of the test.
- Viewing the test reports.
- Creating SMS or email notifications to notify you if the test fails.
Updated 8 months ago