rapidapi.com Account Creation and Management
It is free to create a RapidAPI account. Get started on the RapidAPI home page.
Create a RapidAPI account
Create a RapidAPI account by clicking the Sign Up button in the top right corner.
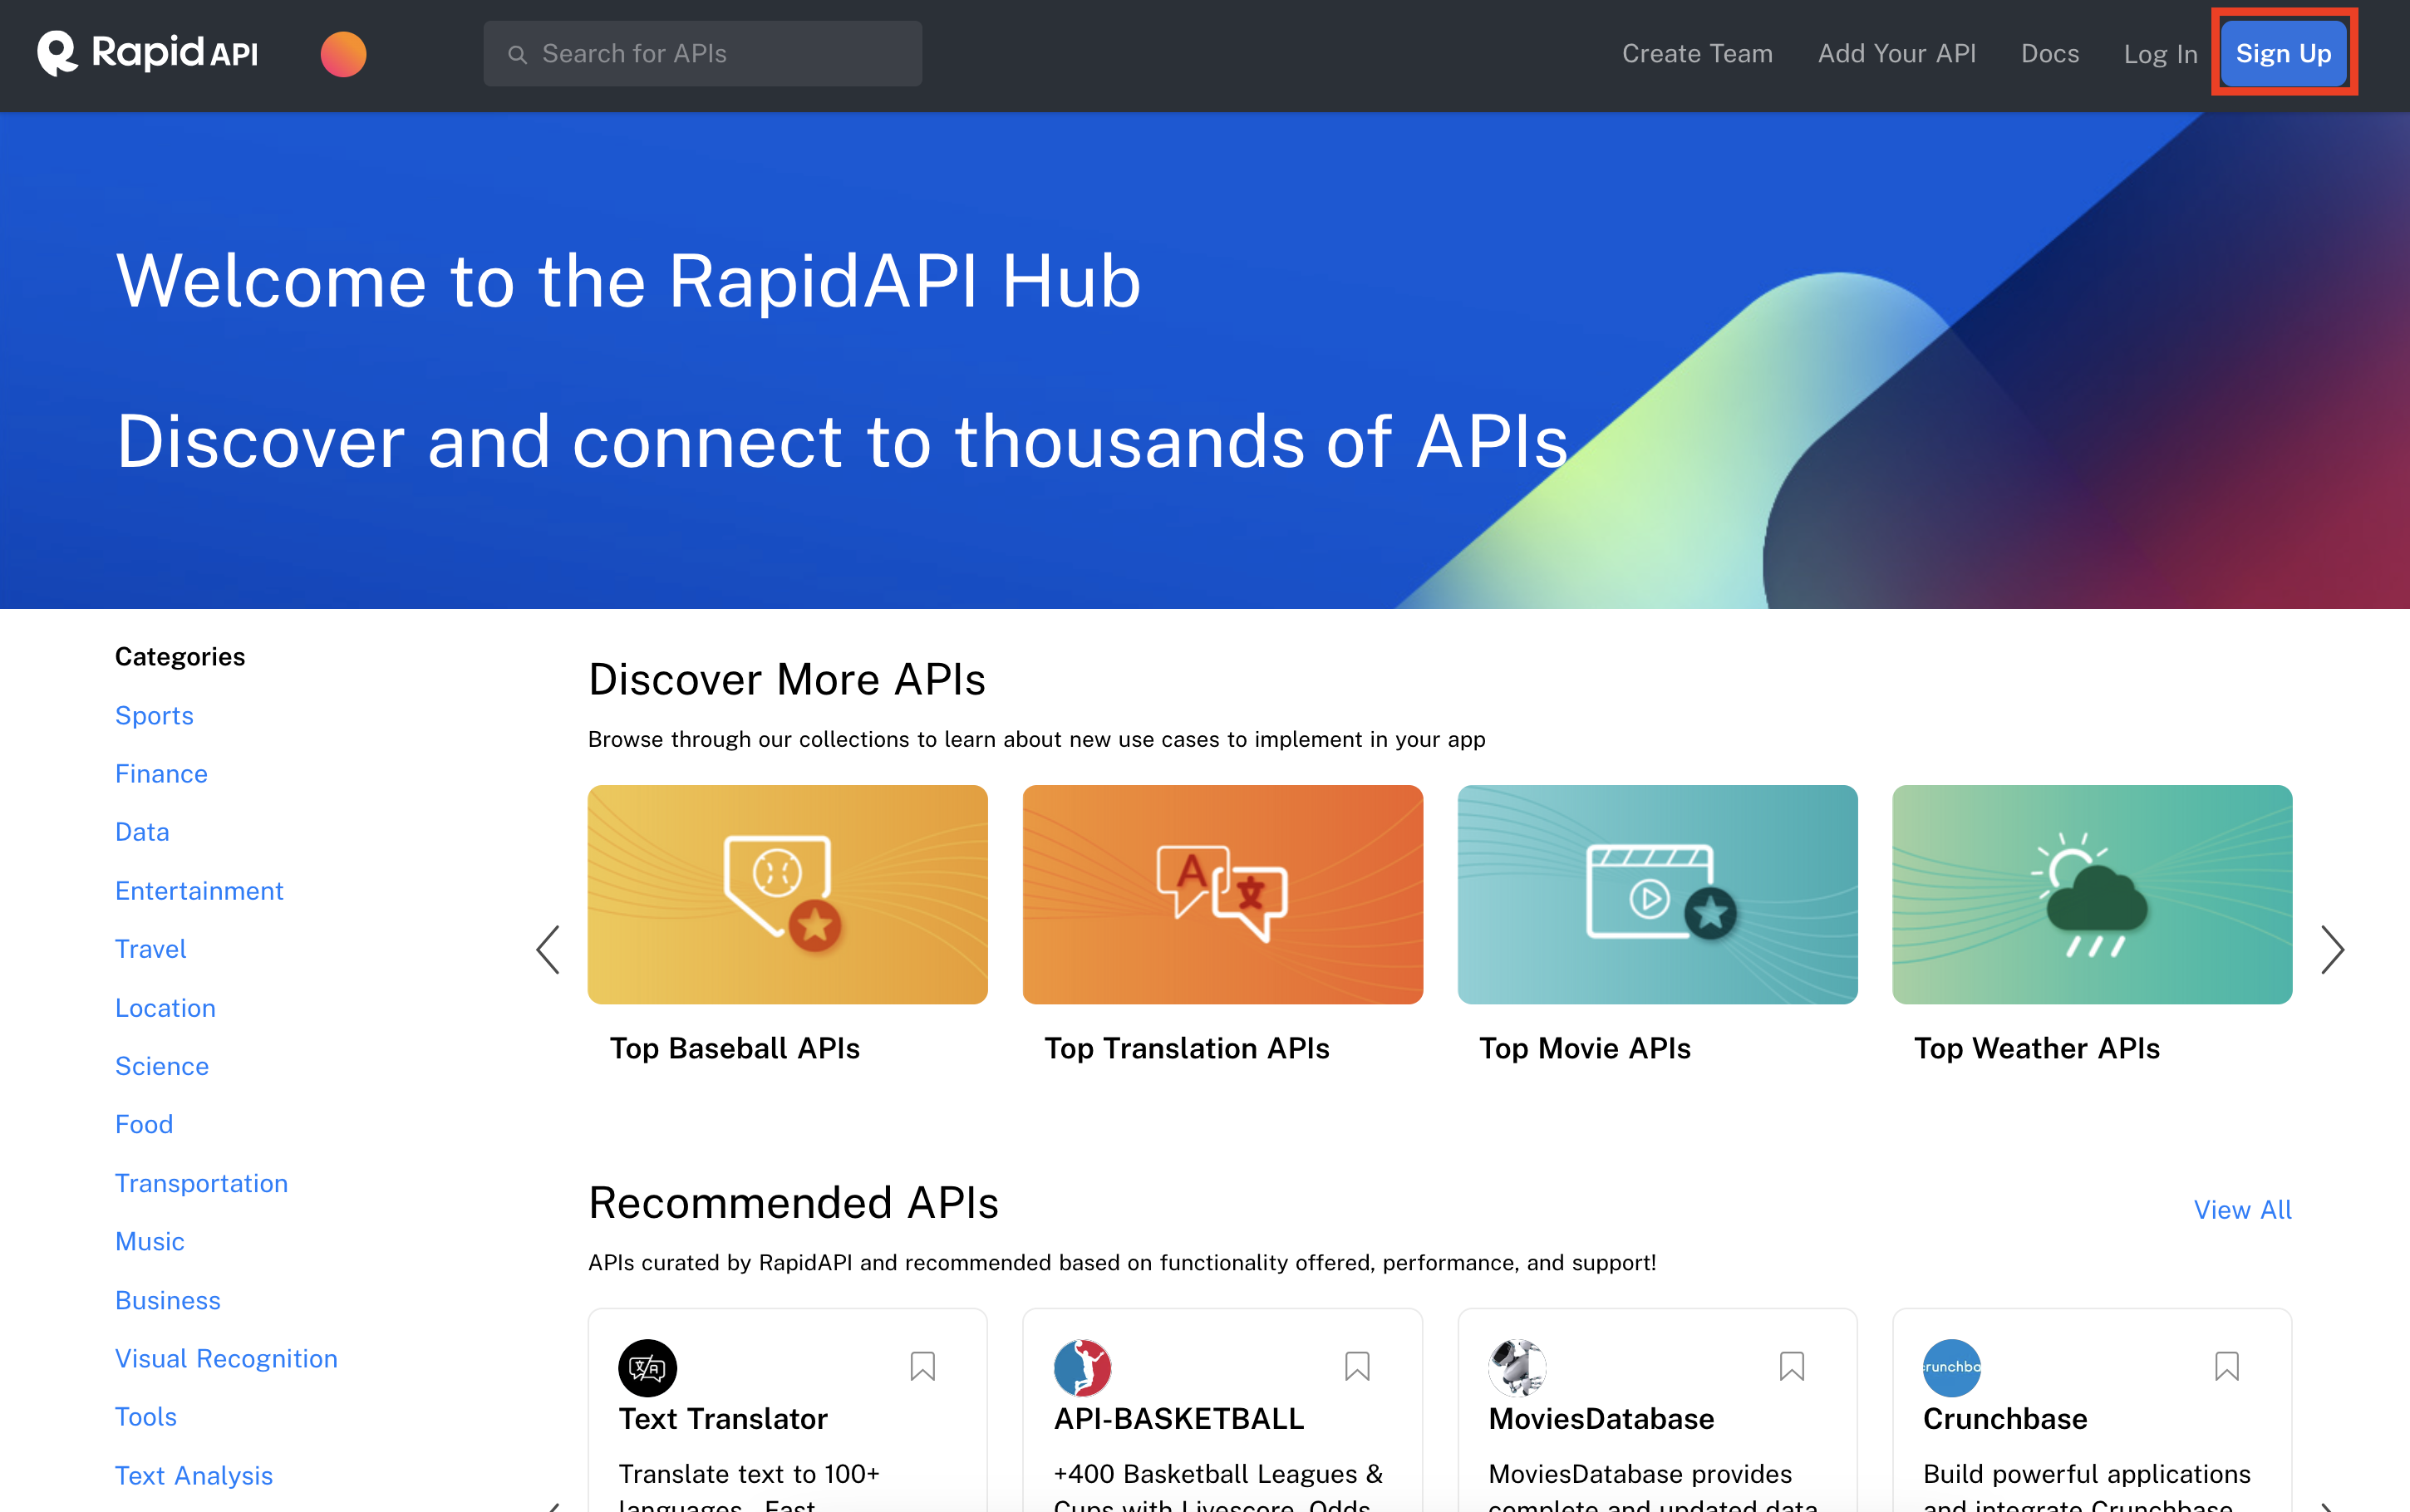
The Sign Up button on rapidapi.com.
You can create an account using your email address, or by connecting an existing Google, GitHub, or Facebook account.
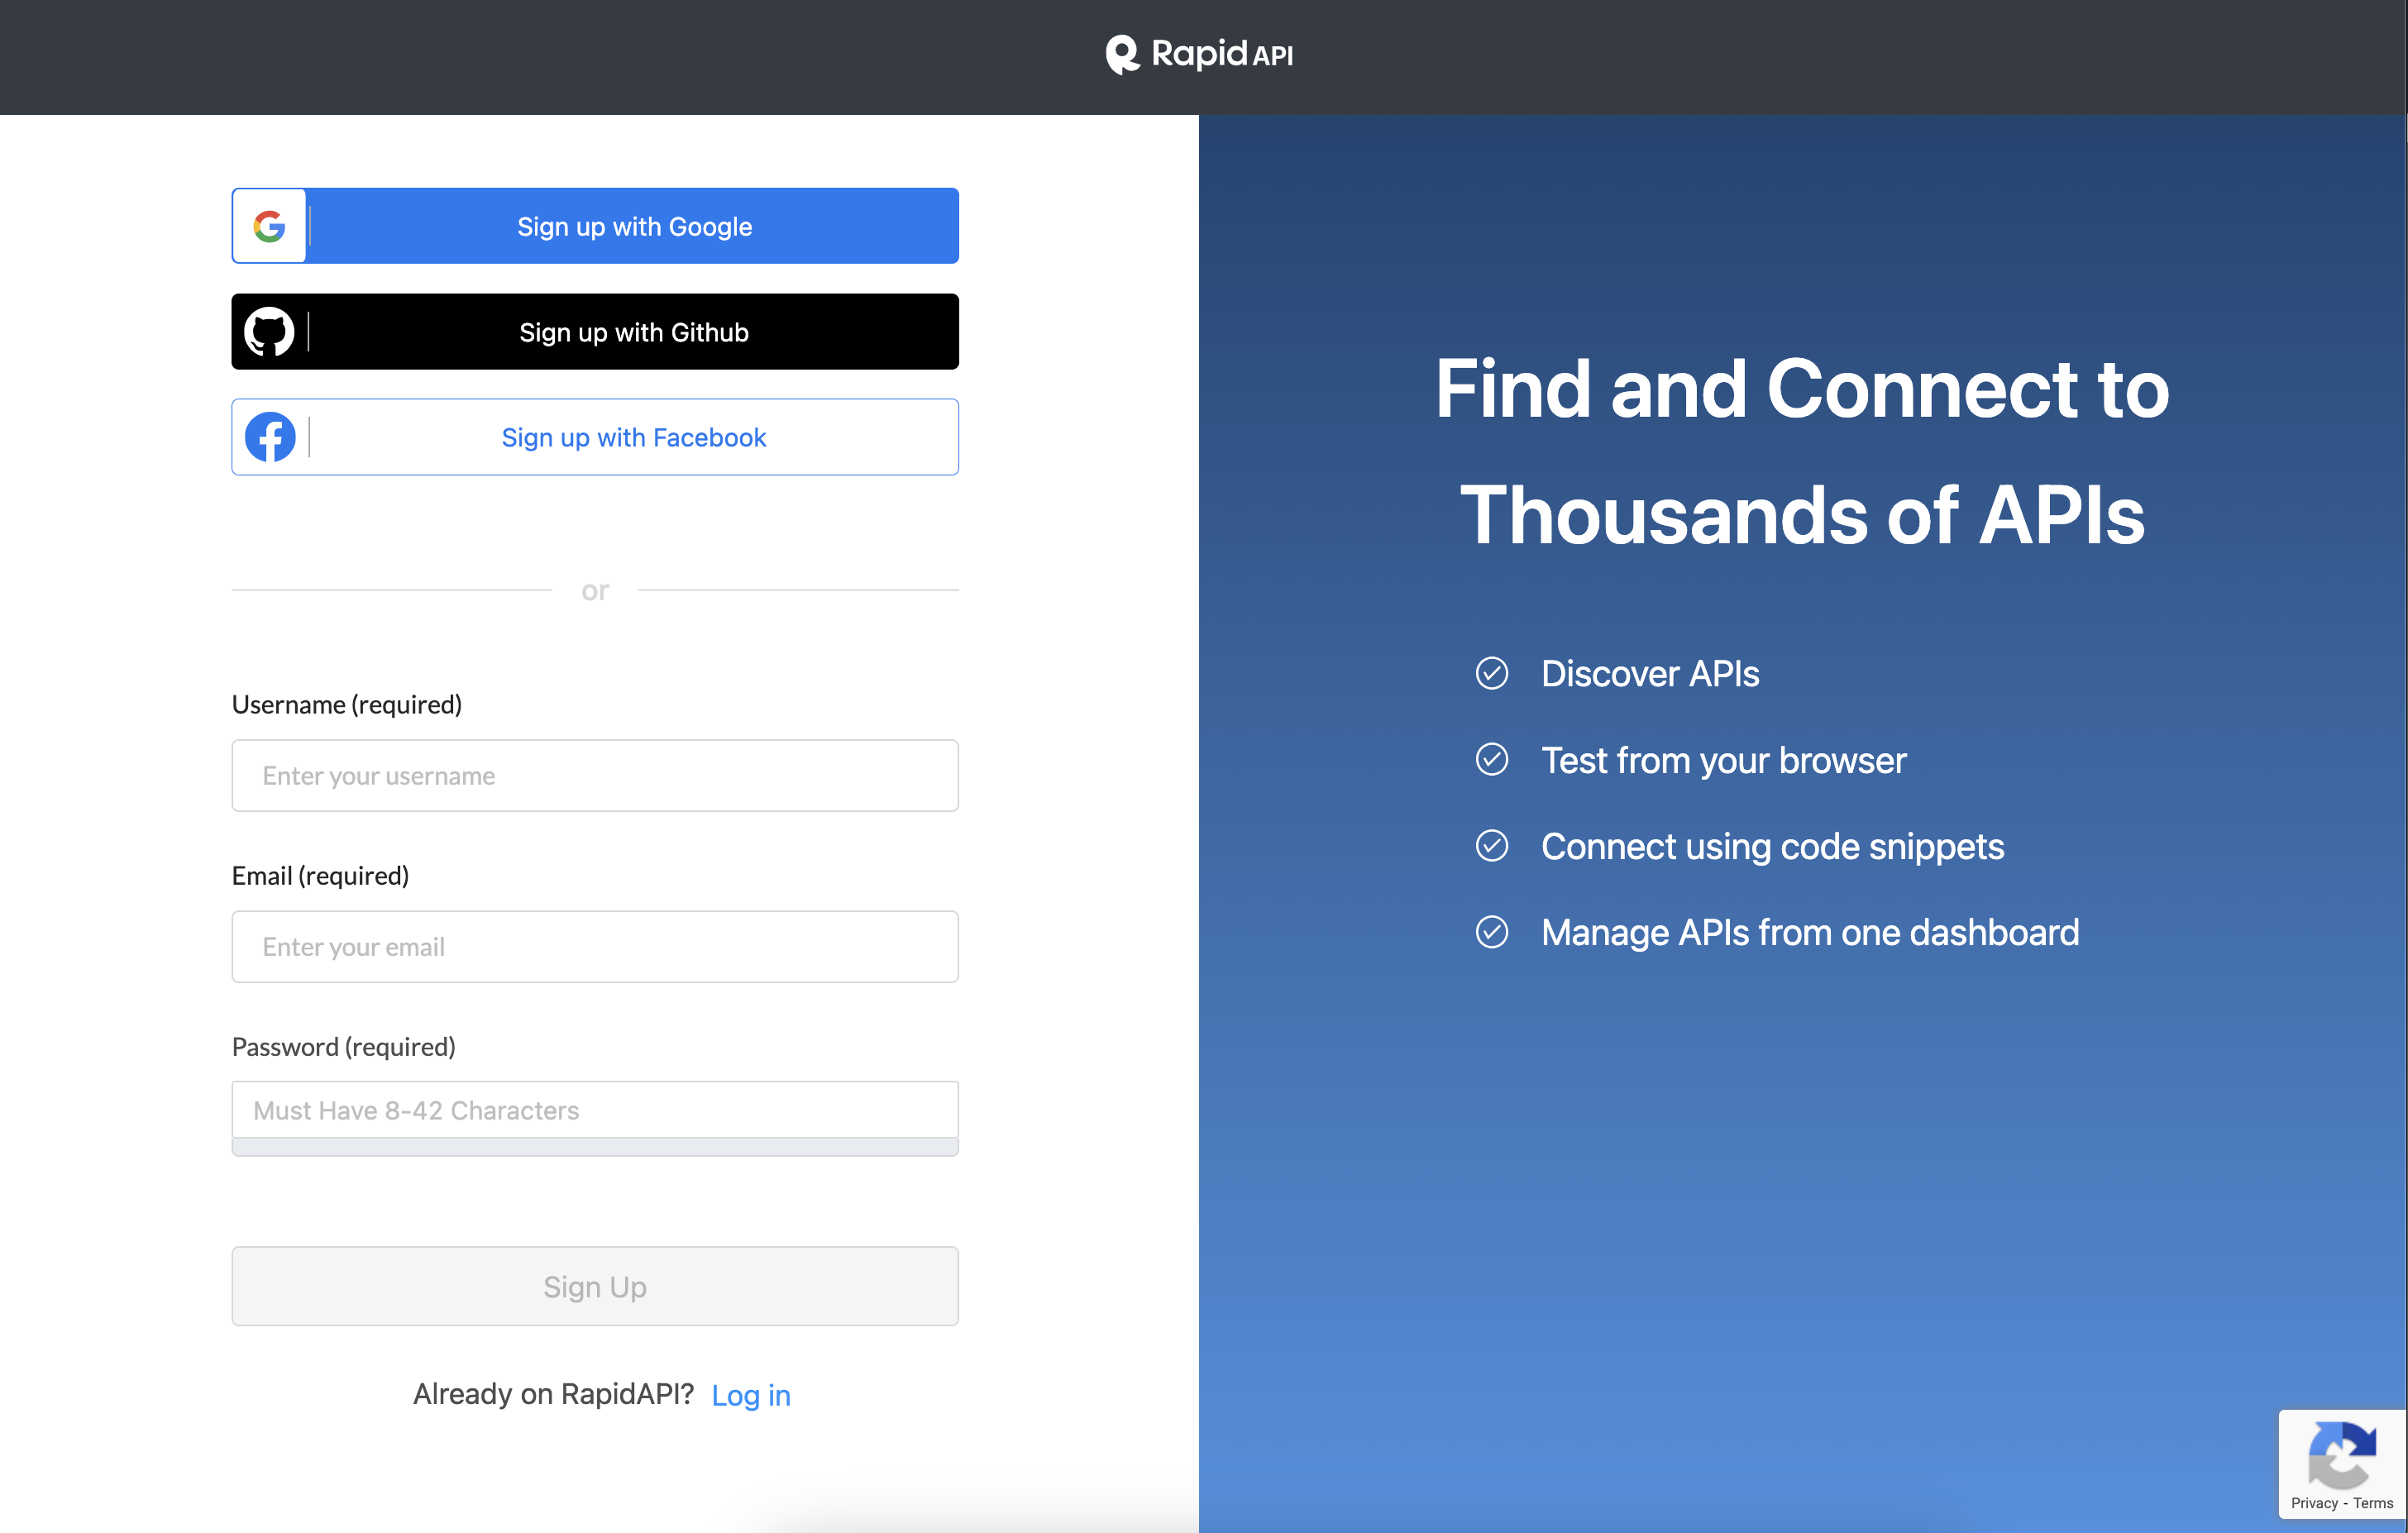
Sign up with Google, GitHub, Facebook, or by creating an account.
Create a RapidAPI for Teams organizationLearn how to create a RapidAPI for Teams organization here.
Validate your email address
To validate your account, a six digit code will be sent to the provided email address. You can enter the code on the verification screen to finalize your account registration.
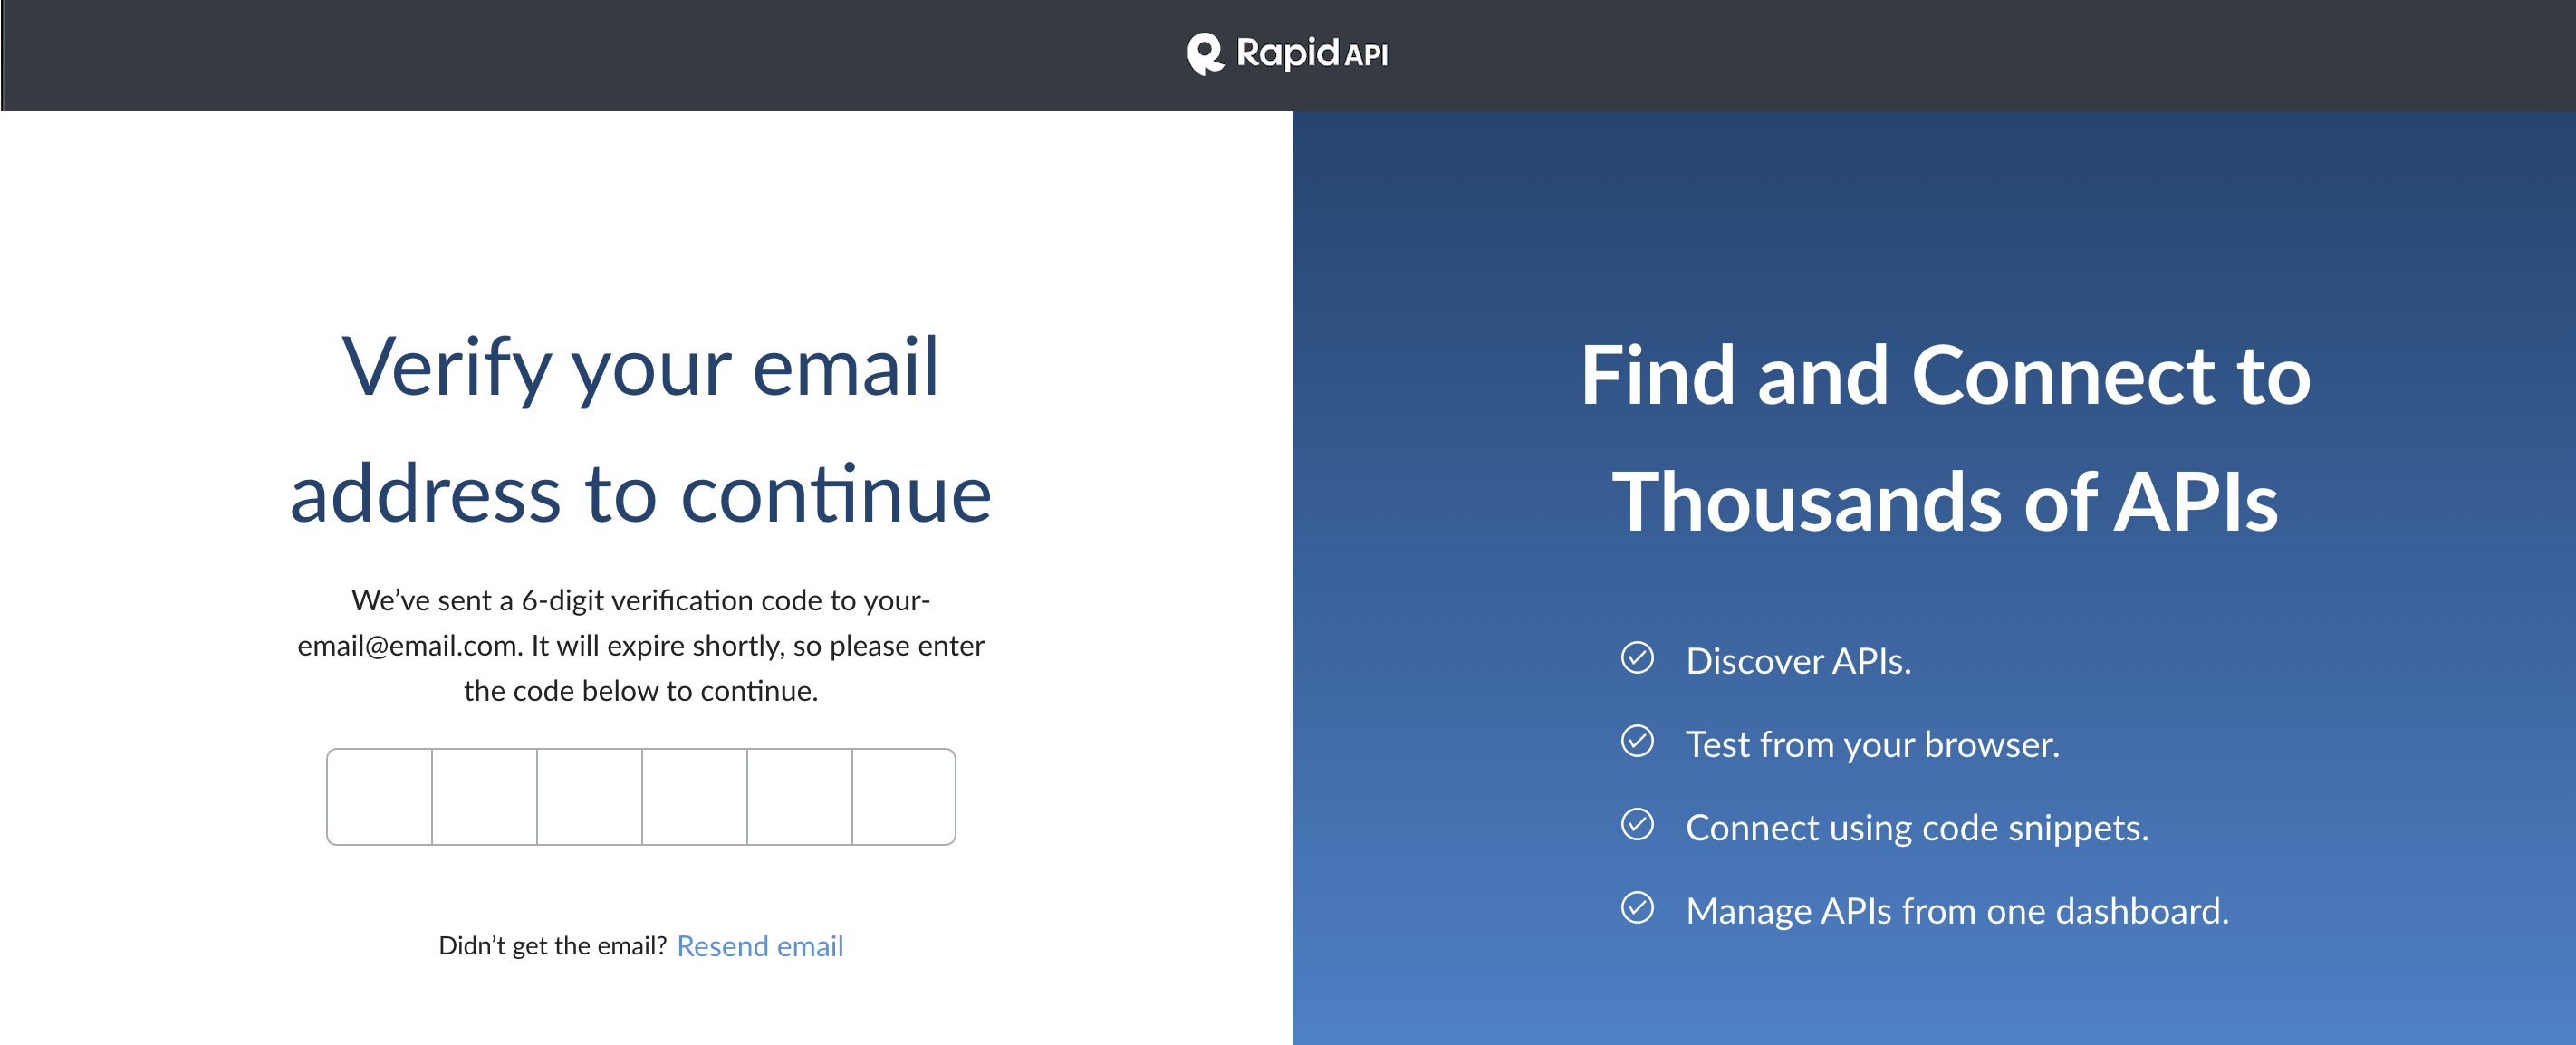
Validating your account.
Account settings
To access account settings, click your user icon in the upper right and select User Settings.
Changing your email address or password is only possible if your password is managed by RapidAPI. These options are not available for single sign-on options such as Login with Google.
Change your email address
Click the Change Email button to update your account email. The email can not be an email that is already associated with a RapidAPI account. The new email will receive a verification code from RapidAPI.
If you signed up via one of the available SSO options, the button to change your email address will not be available. In this case, you can enable the change email address option by following the instructions for resetting your password below.
Change your password
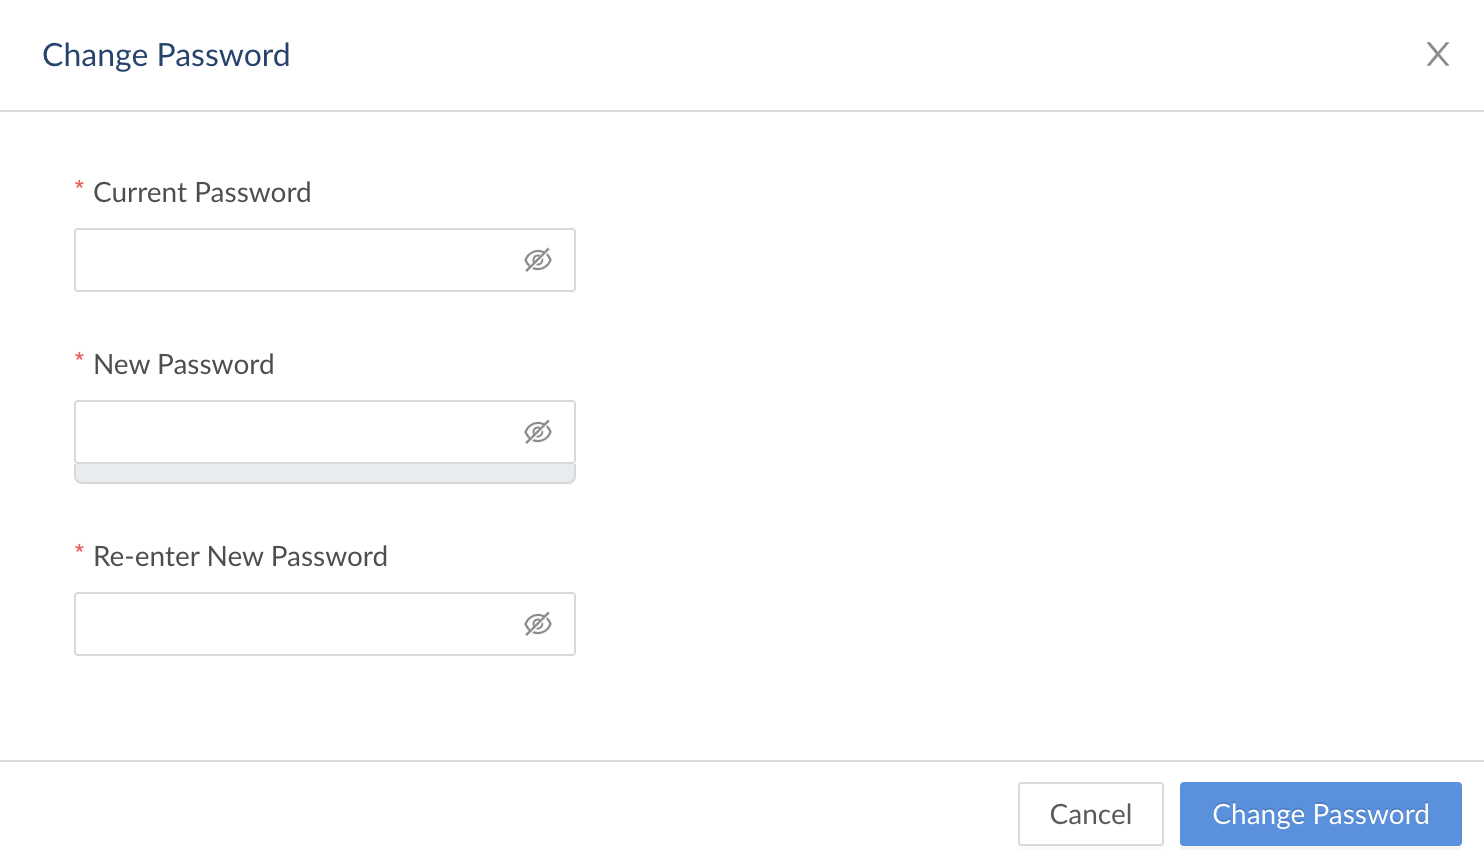
Click the Change Password button to update your account password. You must enter your current password and enter a new password that is at least eight characters long.
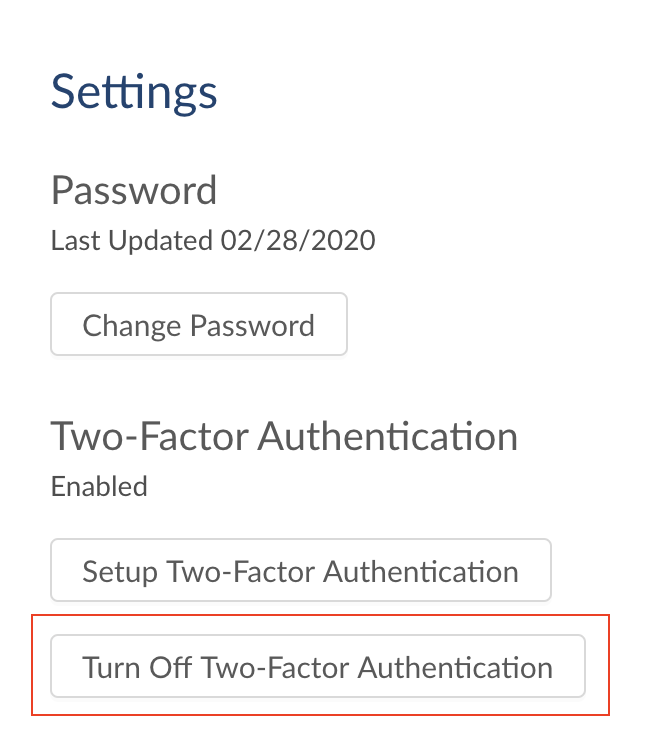
Configure two-factor authentication (2FA)
Two-factor authentication allows you to add an identity verification step in addition to a password. Currently, RapidAPI supports text message (SMS) or authenticator app verification.
Text message (SMS) verification: Click the Add Number link. Enter your country code and phone number. Click "Test Phone" and a code will be sent to the phone number. Enter the code, and SMS verification will be enabled.
Authenticator app verification: Click the Setup link. Scan the QR code in your authenticator application. Click Test Code to verify the code and enable the authenticator app verification.
Recovery codes: Both methods of authentication require generating recovery codes. The codes can be used if you are unable to access your 2FA method. Keep the codes in a secure location. You can download the codes or generate new codes.
Turn off two-factor authentication: You can turn off 2FA by clicking the Turn off Two-Factor Authentication button.
View your login history
The login history is displayed at the bottom of the User Settings page and incldes the time and location of recent logins. If you notice suspicious or unexpected logins, please change your password.
Billing information and credit card detailsYou can update your billing information or credit card details from the Developer Dashboard, on the Billing tab.
Delete your account
To delete your account, click your user icon in the upper right and select User Settings. Under Delete Current User, click the Delete button. You will be shown an "Are your sure?" dialog, indicating that account deletion is permanent and you will lose all data related to your account. This includes any APIs that you own, organizations that you own, usage data, and more. If you are sure you want to delete your account, enter your email address and click Delete.
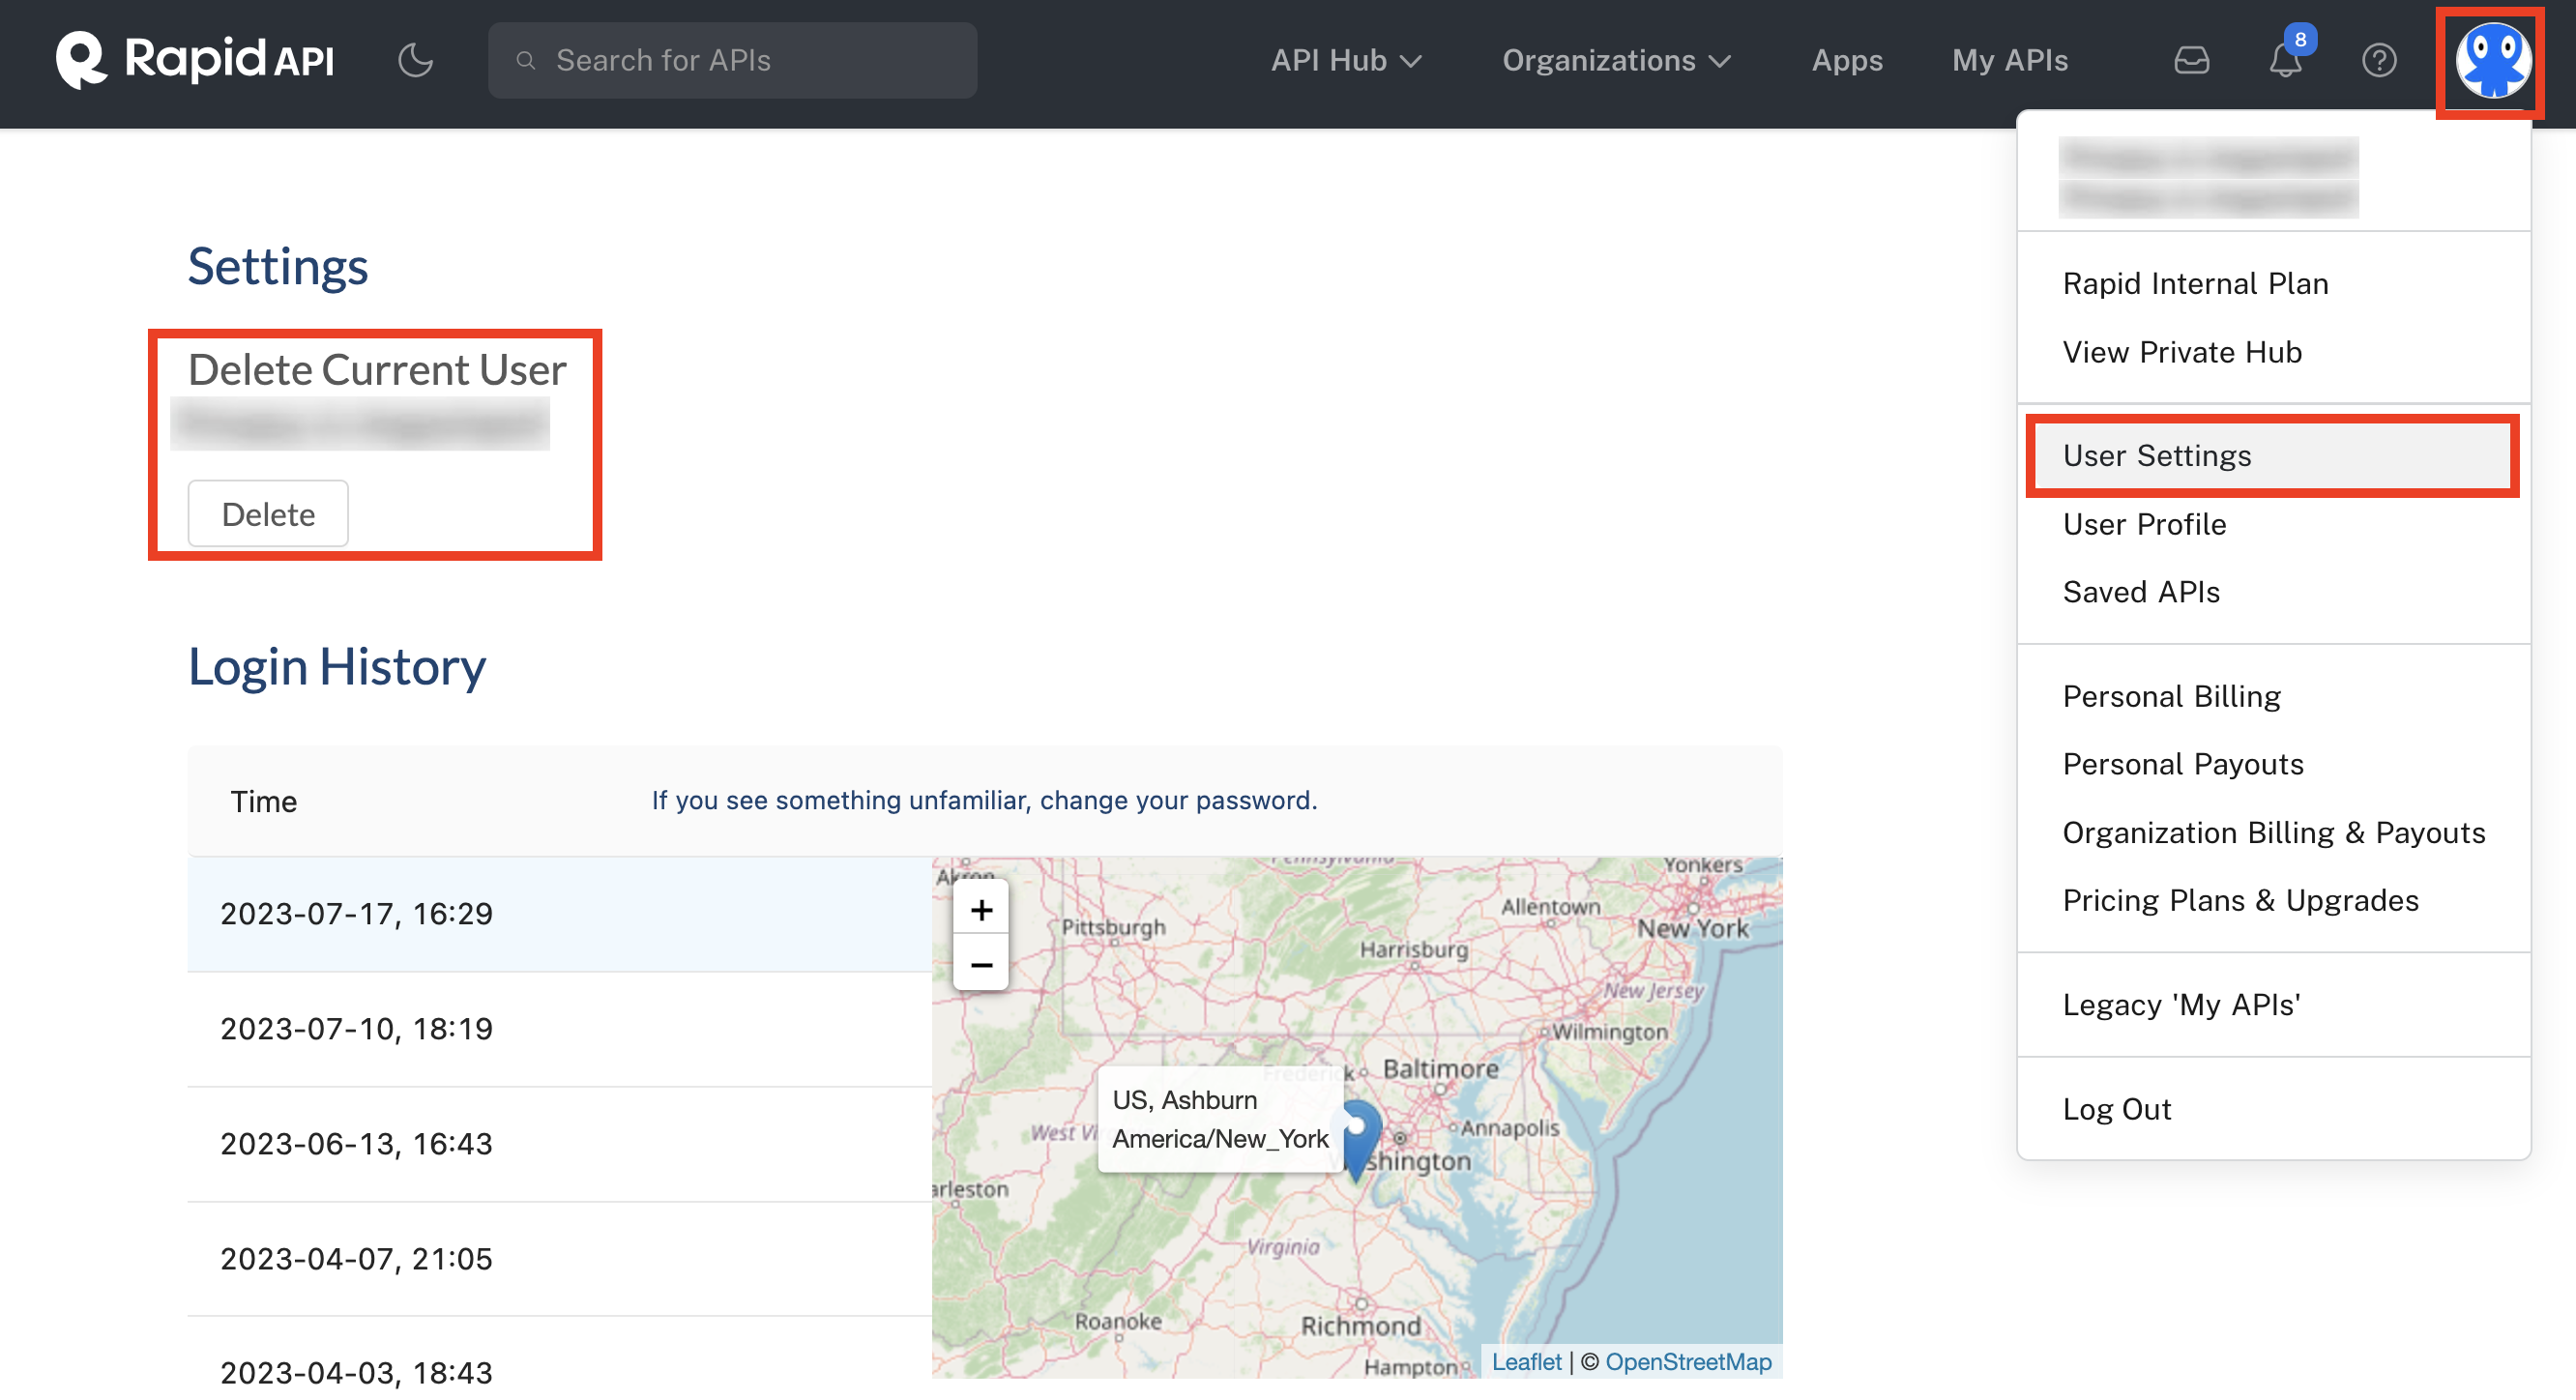
Deleting the current user.
Updated 8 months ago