
Endpoints
Define your API endpoints.
This is a legacy documentation page for the previous interface.For the latest page, see Hub Listing - Definitions Tab.
The next step in the process is to start defining your API endpoints. This is how developers will know what endpoints they have available to them as well as all of the parameters they can use.
If you create the API and upload an OAS document that describes the API, the endpoints should be automatically populated for you.
Create an API endpoint
To start, go to the API Specs > Endpoints tab of your API Definition. Click "+ Create REST Endpoint".
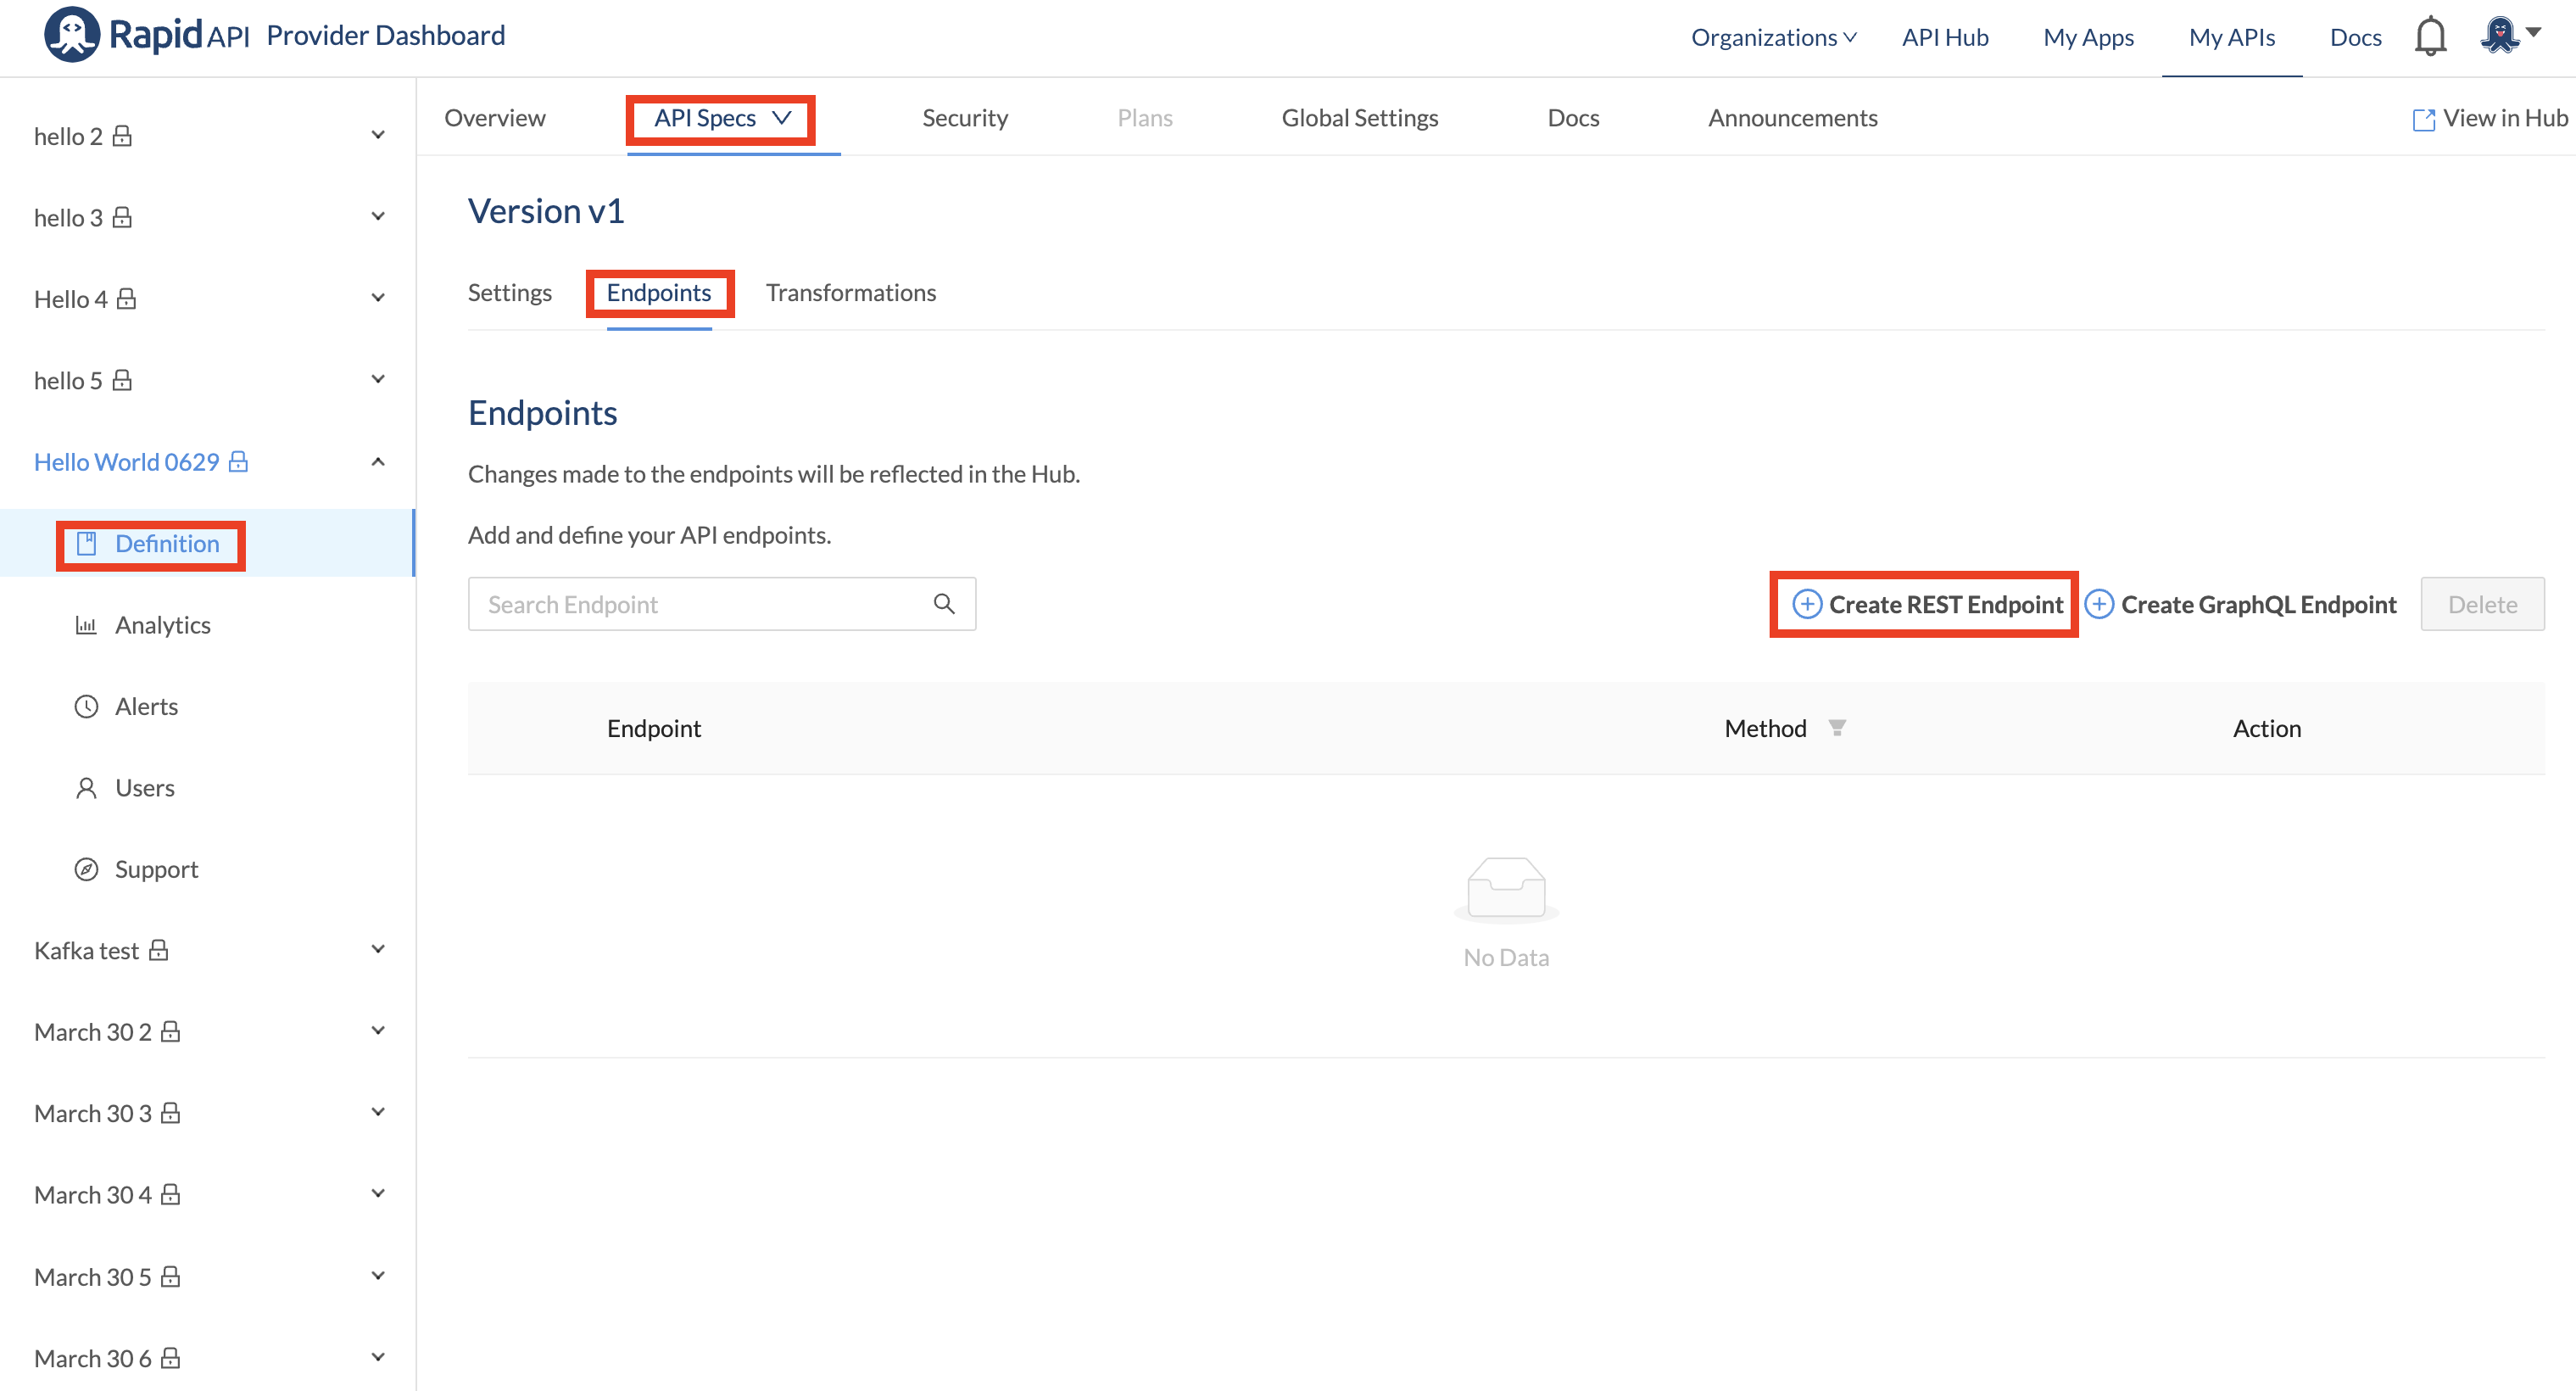
The following page will then appear:

This page is where you can define all of the following functionality:
- Name: You can provide a descriptive name for the endpoint or just set the name to match the route. This will be the name visualized in the quick menu on the right-hand side of the Documentation explorer
- Description: This helps developers understand what the endpoint does.
- Method: Defines the HTTP method that will be used to call your endpoint. RapidAPI supports GET, POST, PUT, PATCH, and DELETE.
- Path: The route to the endpoint. This path does not include your Base URL. In some cases, you might want to allow the user to specify a parameter in the route (path parameter). You can use curly braces to encapsulate the user-defined parameter. For example, if you enter “/status/{appid}” as a route, an additional parameter input box will be created for the user to specify the parameter’s value.
Request Headers
You can specify custom headers to be passed to your API endpoint by the user. To add a header, navigate to the Header tab on the Add Endpoint screen.

You can provide the following information for request headers:
- Name: A name is required for your header parameter.
- Value: A value can be pre-filled into the header parameter to be displayed on the RapidAPI Marketplace when users test the endpoint.
- Type: Choose from String, Enum, Number, Boolean, Date, Time or Geopoint.
- Required: Check this box to make the header string parameter required.
- Description: Describe the parameter in a few words.
Query String Parameters
Adding a Query String parameter can be used to add additional parameters to a request. For example, a filter (imagine “?limit” or “?offset”) could be an additional query string parameter passed with the request. To add a query string parameter, navigate to the Query tab on the Add Endpoint screen.

You can provide the following information for query string parameters:
- Name: A name is required for your query parameter.
- Value: A value can be pre-filled into the query parameter to be displayed on the RapidAPI Marketplace when users test the endpoint.
- Type: Choose from String, Enum, Number, Boolean, Date, Time or Geopoint.
- Required: Check this box to make the query string parameter required.
- Description: Describe the parameter in a few words.
Body Parameters (Only for POST, PUT and PATCH)
When you specify the method to query the endpoint as a POST, PUT, or PATCH method, you can also define a payload for the request. You can add it as a form parameter or as a model.
Payload Form Encoded Parameters
A payload defined as a form-encoded parameter is the simplest and recommended way to pass arguments into the payload.

Start by selecting form-data as the media type
- Name: A name is required for your form parameter.
- Value: A value can be pre-filled into the form parameter to be displayed on the RapidAPI Marketplace when users test the endpoint.
- Type: Choose from String, Enum, Number, Boolean, Date, Time, Geopoint, or Binary.
- Required: Check this box to make the form parameter required.
- Edit Details: Opens more options to add a description
Other Payload Media Types
With the Media Type selector, you can define a payload in multiple formats which gives consumers the flexibility to post data to your endpoint from an option you make available. You can specify many parameters and create nested objects depending on the media type.

- Media Type: Choose from available types:
application/json,application/xml,text/plain,application/octet-stream,form-data - Name: A name is required for your form parameter.
- Description: Describe the parameter in a few words.
- External Link Link to external documentation paired with a description of what the link points to
- Example: Fill out an example with a description of what the model looks like. For example, for a JSON model it might be:
{
  "name" : "RapidAPI",
  "text" : "This model always works"
}
Mock Responses
Mock responses allow you to develop and test related services and apps while the API itself is still under development.
Enable Mock Responses
From the Provider Dashboard, navigate to the API's Definition page and select the Endpoints tab. Edit the desired endpoint.
Scroll to the bottom and click the "Mock Response" button. Specify response codes, headers, and response body. Enable mock responses with the slider, and save the endpoint.

You can specify a separate mock response for each endpoint. You can also override an actual response from the API by enabling a mock response for the endpoint.
A developer testing the API on the Marketplace will see a notification that the endpoint is configured to return a mock response. RapidAPI automatically adds a header "x-rapidapi-mock-response" with the value "true" to each mock response.

Updated about 1 year ago