Request Generator
The Request Generator is a web-based API client that is used to simplify the creation of API tests. Uploading an API spec file when you create an API Project will allow the Request Generator to infer the properties of your API.
One reason to use the Request Generator is to verify that your requests are working as intended before adding them to your test. By using the Request Generator, you are streamlining the creation of HTTP requests and any assert steps on their responses.
Using the Request Generator
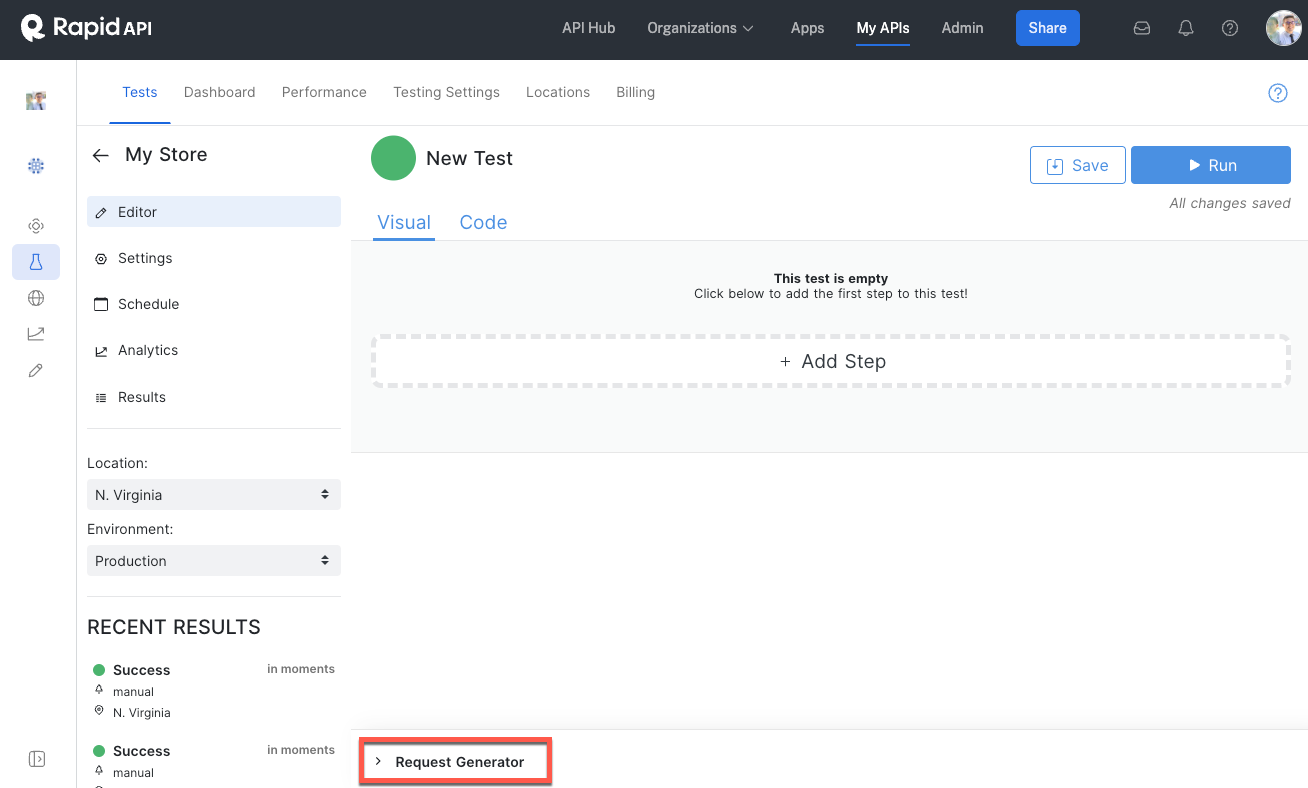
The Request Generator can be expanded from the bottom of the test building screen (see the screenshot below).
The Request Generator comprises three panels: source (yellow), request (blue), and information (red).

Source
There are two options for API endpoint sources you can choose from in the Request Generator, Requests and Sources.
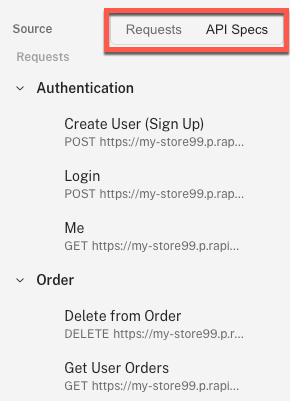
Requests displays all of the endpoints saved in your API Project and essentially reflects the Requests tab within your API Project.
API Specs displays all of the endpoints synced to your API Project's hub listing.
These two sources may reflect the same information if you have imported your API Project from an API spec file and/or synced requests from the Requests tab to your Hub Listing.
Requests
The requests panel in the Request Generator is used to edit a request before sending it. Since the Request Generator is intended for testing, any changes made to a request in this panel are temporary and are intentionally not synced back to the API Project's Requests.
Right-clicking on any user input field in the requests panel, including the URL, will open a dialog that simplifies inserting values commonly used when making an API Request.
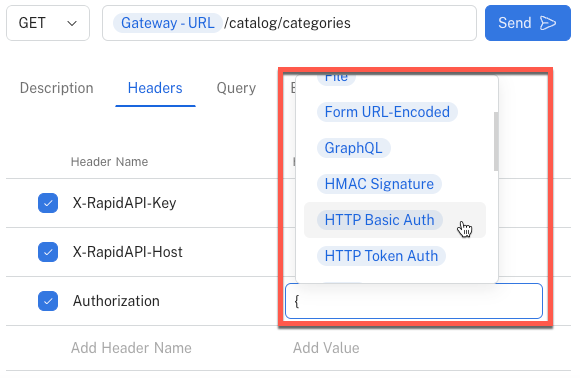
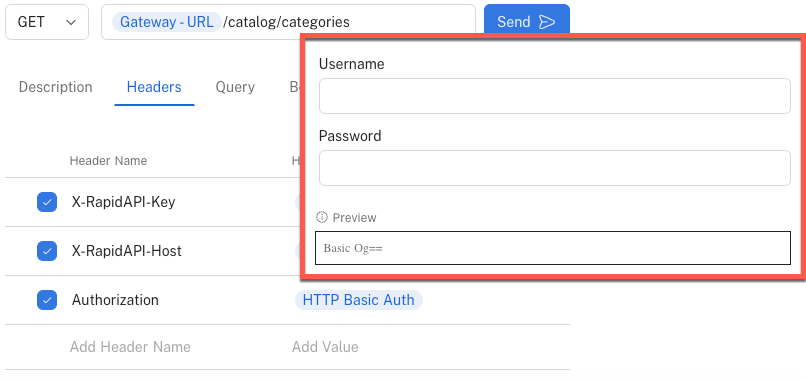
Clicking on any of the blue inserted values will open an additional dialog, specific to that value type, to add any relevant information (screenshot below).
Information
The information panel will automatically populate after sending a request from the Request Generator. There are three tabs within this panel.
Info displays information about the request, including the response body size and total response time.
Request displays the value of the request. This tab has sub-tabs that can toggle between the request headers and how the request value is rendered.
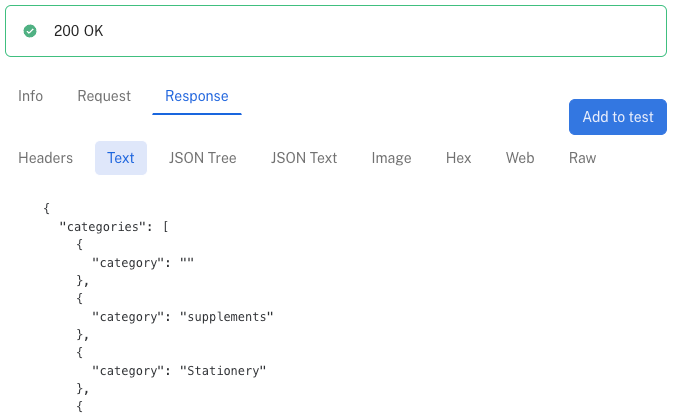
Response displays the value of the response. This tab has sub-tabs that can toggle between the response headers and how the response value is rendered.
Add Request to Test
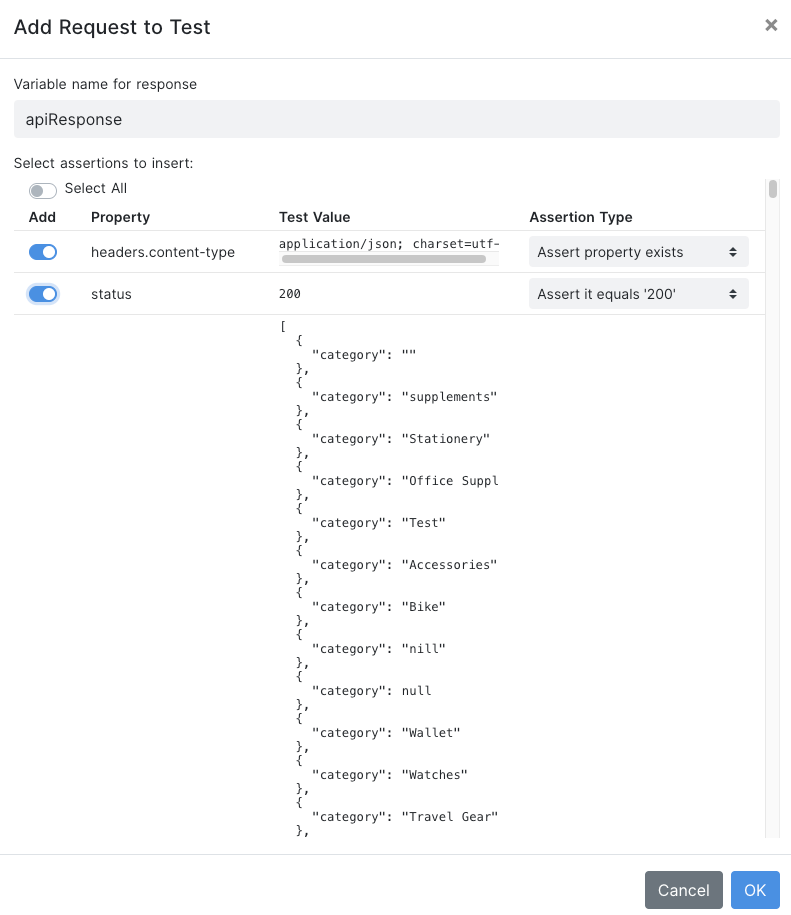
Clicking the Add to test button within the information panel will open the Add Request to Test dialog. In this dialog, you can specify the variable name for the response, select which properties you want to test against, and choose the type of assertion you want to test those properties with.
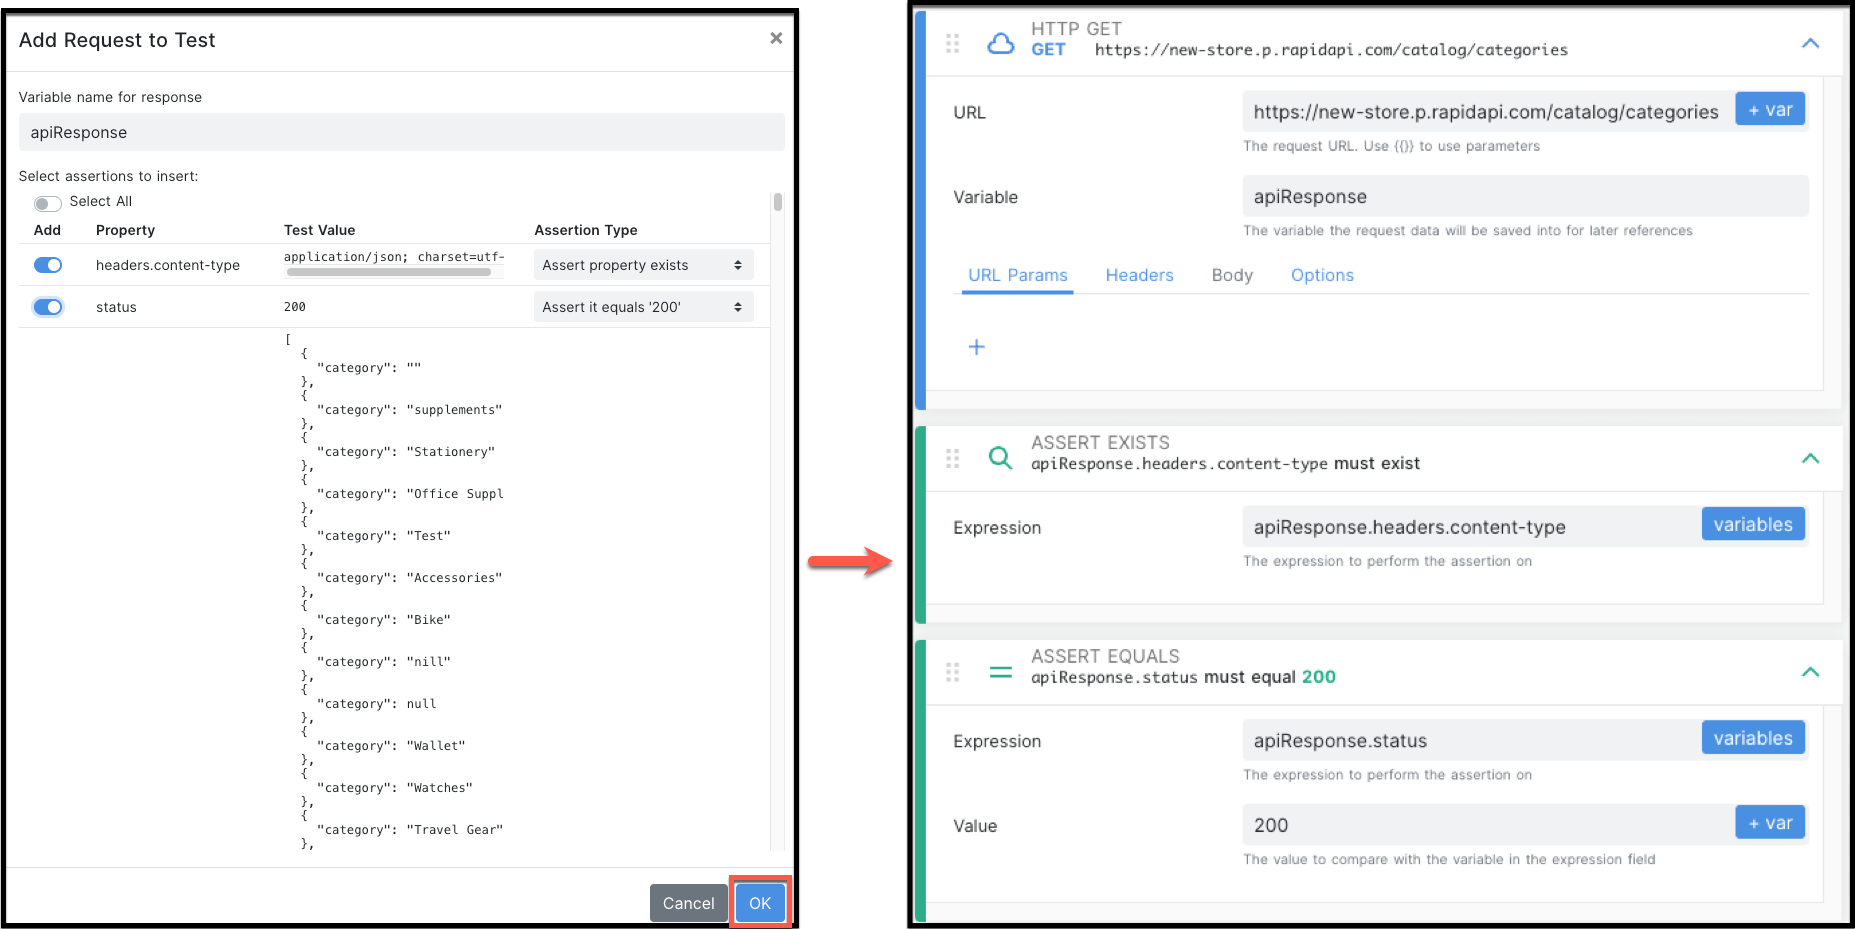
In the screenshot example below, the response values for our test are saved in a variable named apiResponse and we are building our test off of two properties, headers.content-type and status. Selecting the 'Assert property exists' assertion type for headers.content-type means that we want our test to check that our API is returning headers.content-type, regardless of the value, and fail if the property is not returned. The assertion type for the status property is more specific, asserting that our status is always equal to 200, if the status value is something other than 200 the test will fail.
Clicking Ok in the Add Request to Test dialog will generate the test steps associated with your request (screenshot below).
Updated 8 months ago