
API Requests - Getting Started
Using the Requests client without an API ProjectTo create a request, you must have an API Project. If you do not have an API Project, you can create a simple one named My API Requests (or similar) to act as your web-based API client for playing with API Requests.
If your API Project was created by uploading an API spec file, you will see a list of requests from that spec in the Requests area. If you did not upload an API spec file, the Requests area will be empty.
Create a simple GET request
-
Navigate to [YOUR HUB URL]/studio or click the My APIs link in the header of the API Hub. You may need to log in before accessing it.
-
In the dropdown in the upper right, select Personal. This will display the API Projects in your Personal Account.
-
Click on the API Project that you would like to use for sending requests. If needed, you can create one by clicking Add API Project in the upper right.

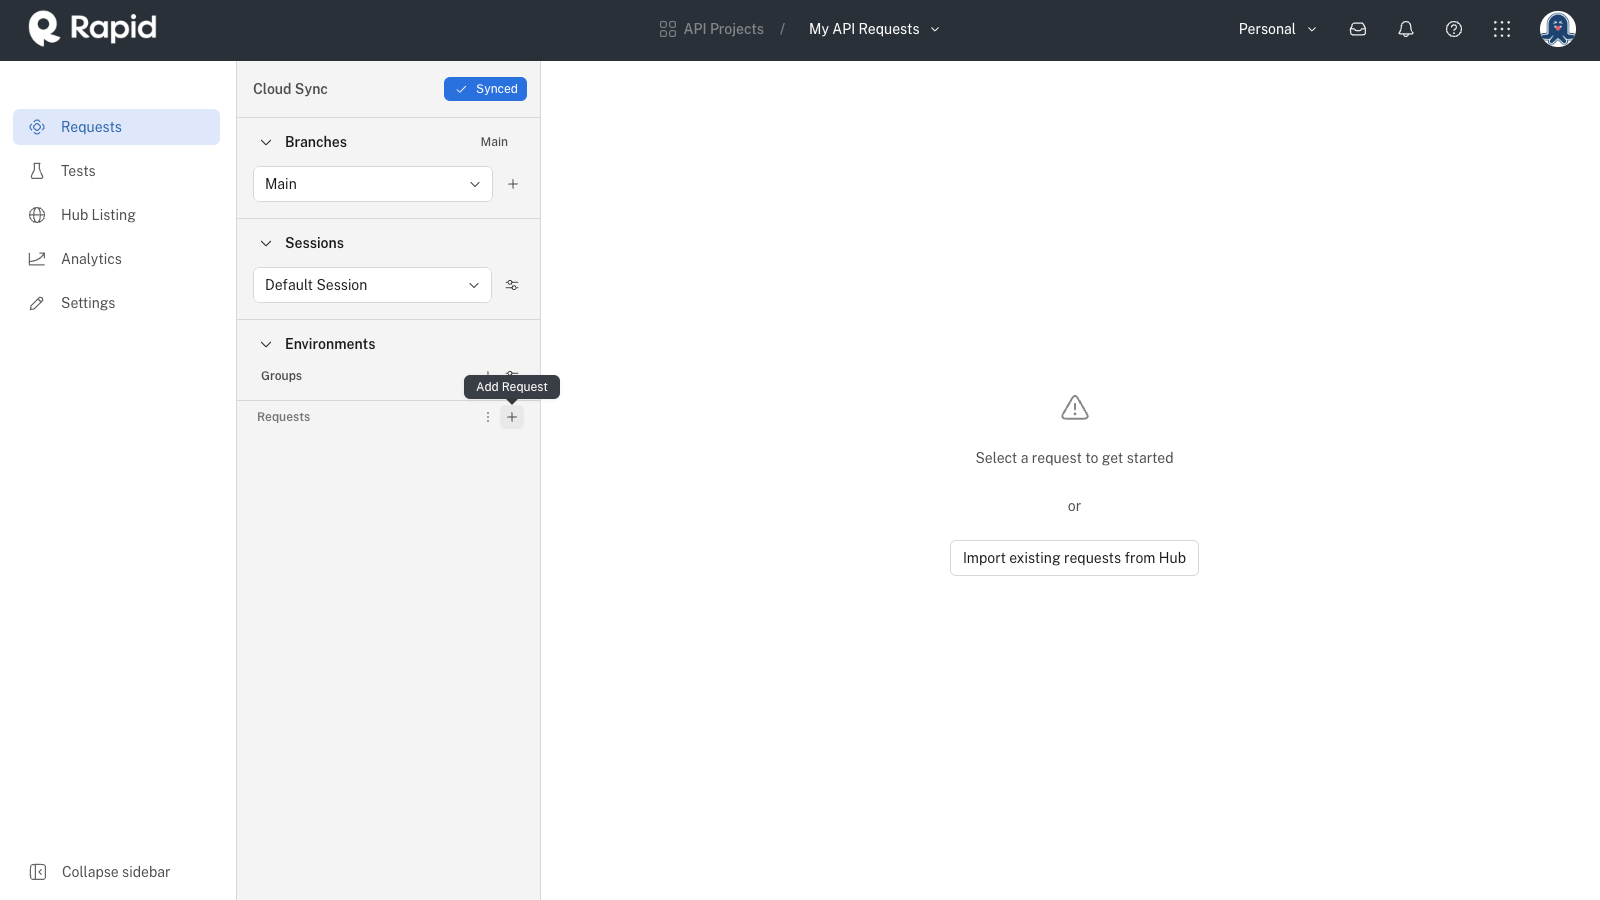
- In the center frame, next to Requests, click the + (Add Request).
-
Click the new Request 1 request.
-
In the HTTP method dropdown, select GET (it should already be selected).
-
In the URL box to the right of the HTTP method dropdown, enter https://echo.paw.cloud. This is a simple service that responds with information about the request.
-
Click Send. On the right, you should see a 200 OK response as well and information about the request.
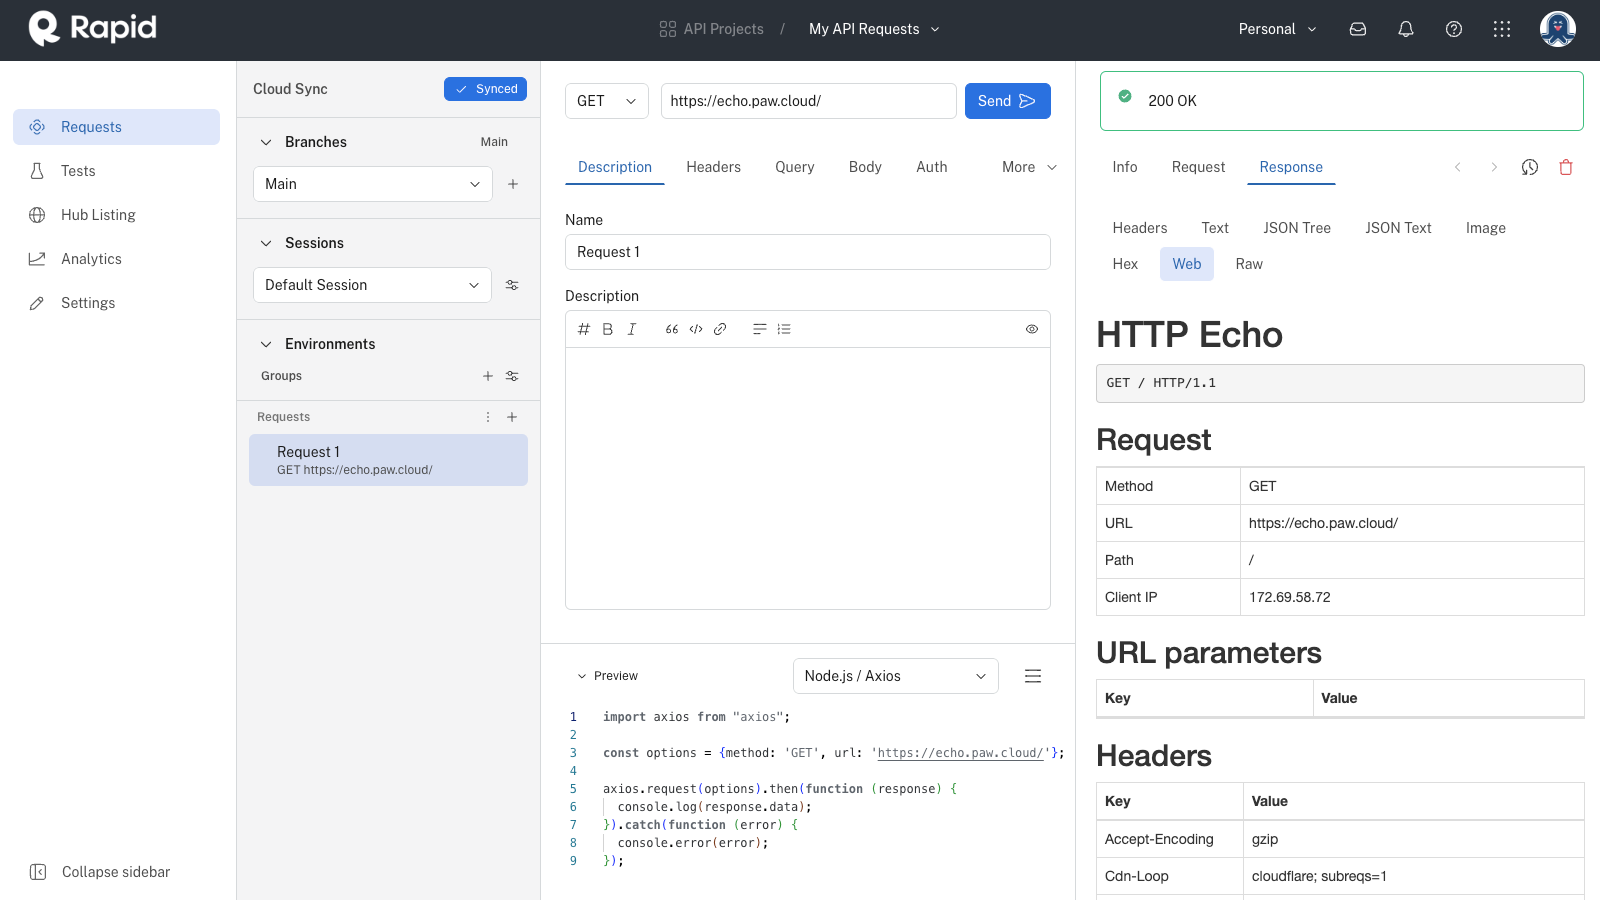
- Click the Description tab in the center frame and rename the request GET Echo.
Create a POST request
-
Click the vertical three dot menu next to your GET echo request (created above) and select Duplicate.
-
Click the GET Echo Copy request.
-
Change the HTTP method to POST.
-
In the Description tab, change the request's name to POST Echo.
-
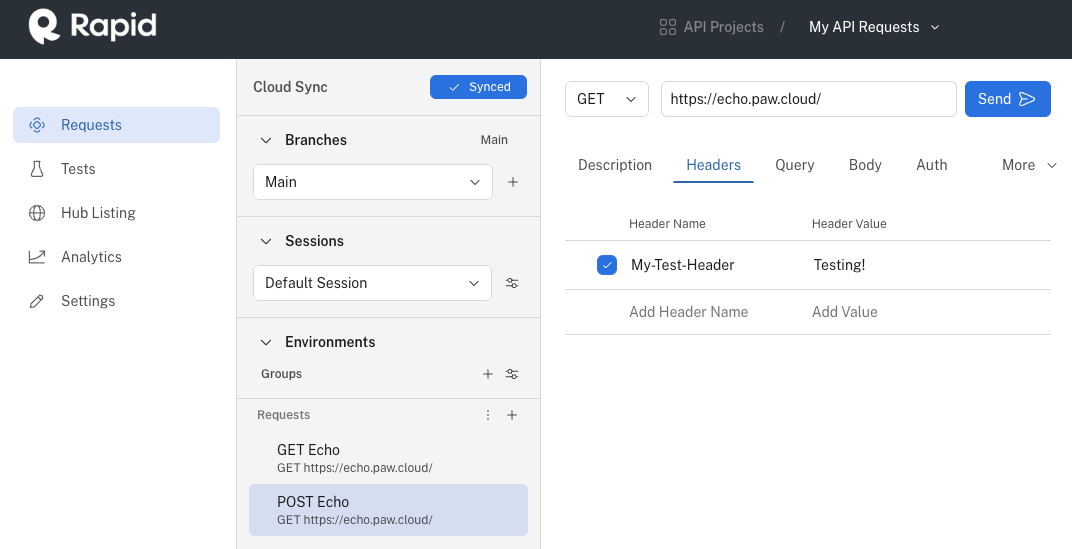
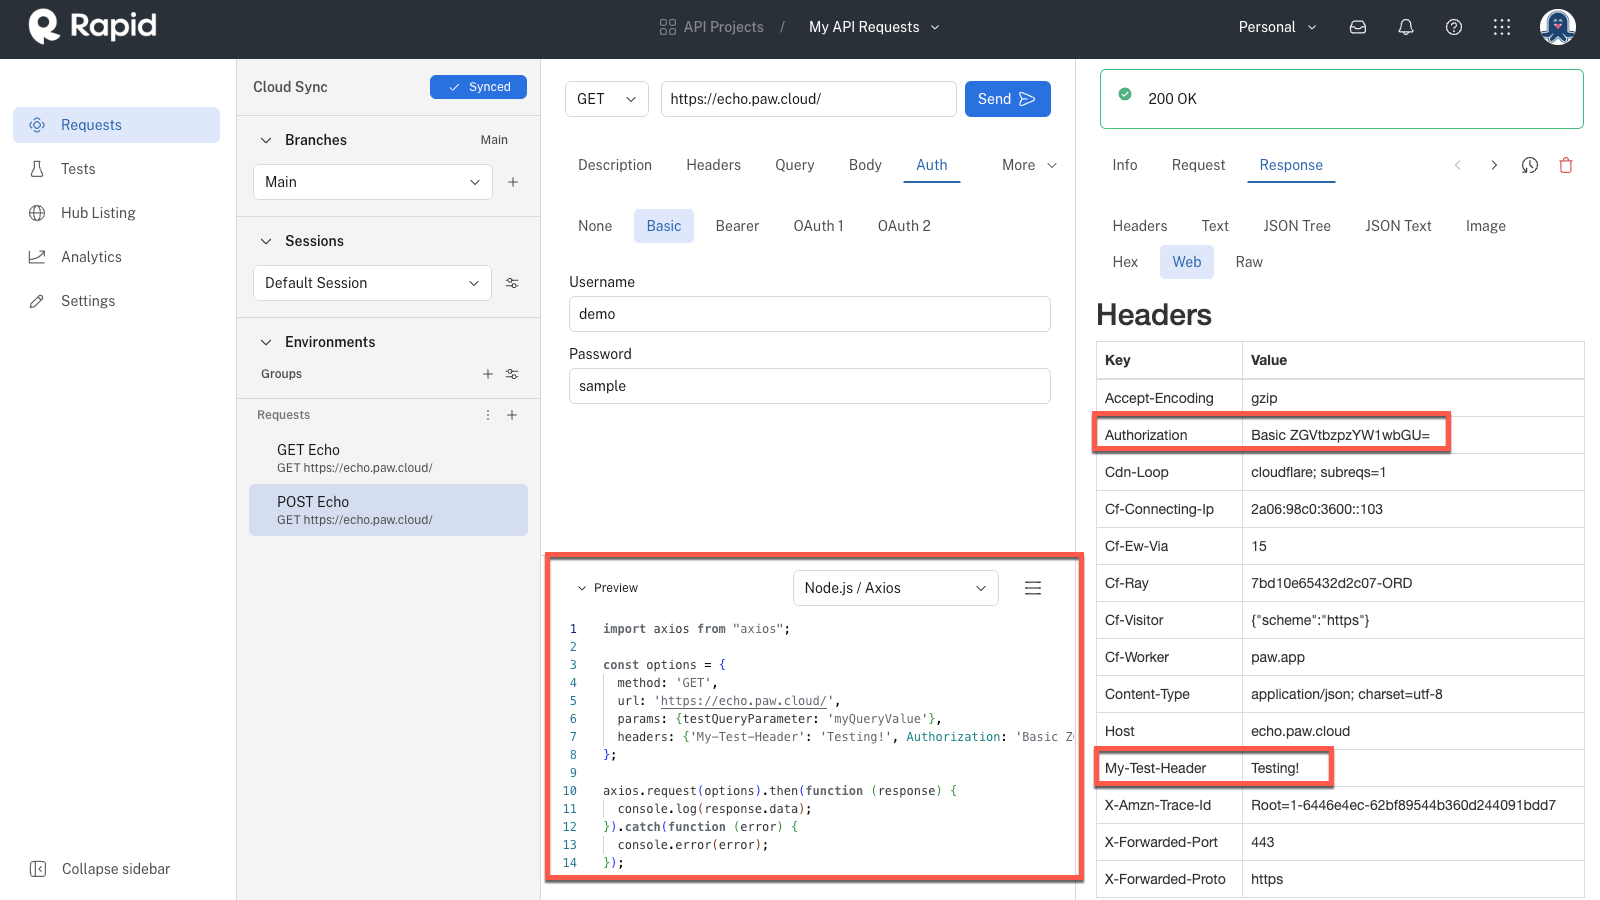
Click the Headers tab and add header with a name of My-Test-Header and a value of Testing!.
-
Click the Query parameter tab and enter a query parameter with a name of testQueryParameter and a value of myQueryValue. This will append ?testQueryParameter-myQueryValue to the request URL.
-
Click the Body tab. Click JSON. Enter the following request body:
{"my-body-key": "my-body-value"}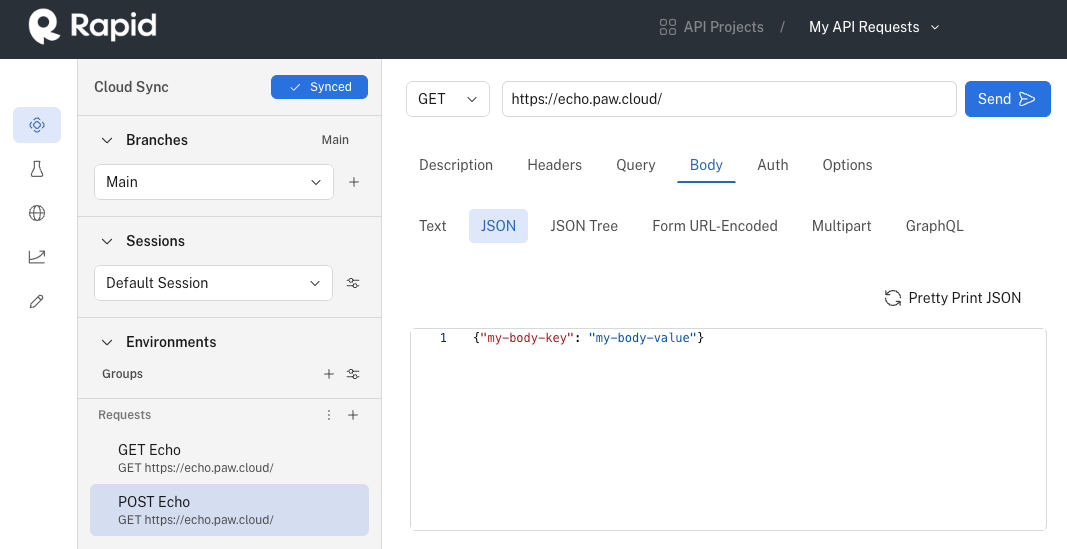
-
Click the Auth tab. Click Basic. Enter a Username of demo and a Password of sample.
-
Click Send to send the request. Verify the following in the Response:
- You receive a 200 OK response.
- Your POST request URL has your testQueryParameter appended to it.
- Your My-Test-Header was sent.
- An Authorization header with an encoded value was sent. The API client Base64 encoded your Username and Password for you.
- Your JSON body was sent with the request.
- In the Preview window in the bottom center, select the Node.js / Axios library from the dropdown (or your favorite option) and notice that the sample code is configured for you, including your query parameter, request headers and request body.
Updated about 1 year ago