Creating a Test
Creating your tests
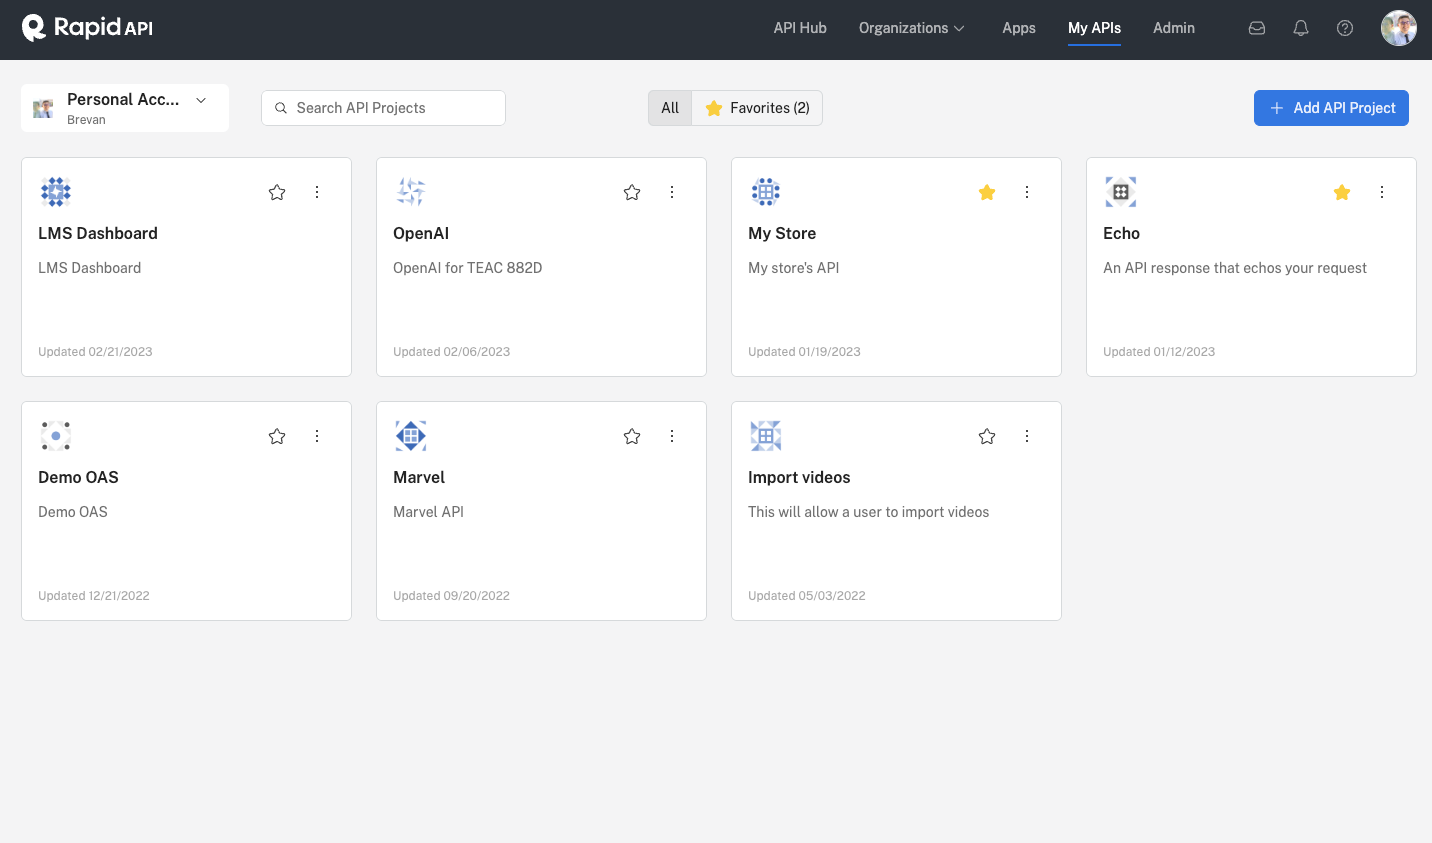
Start by adding your API or selecting an API from Studio.

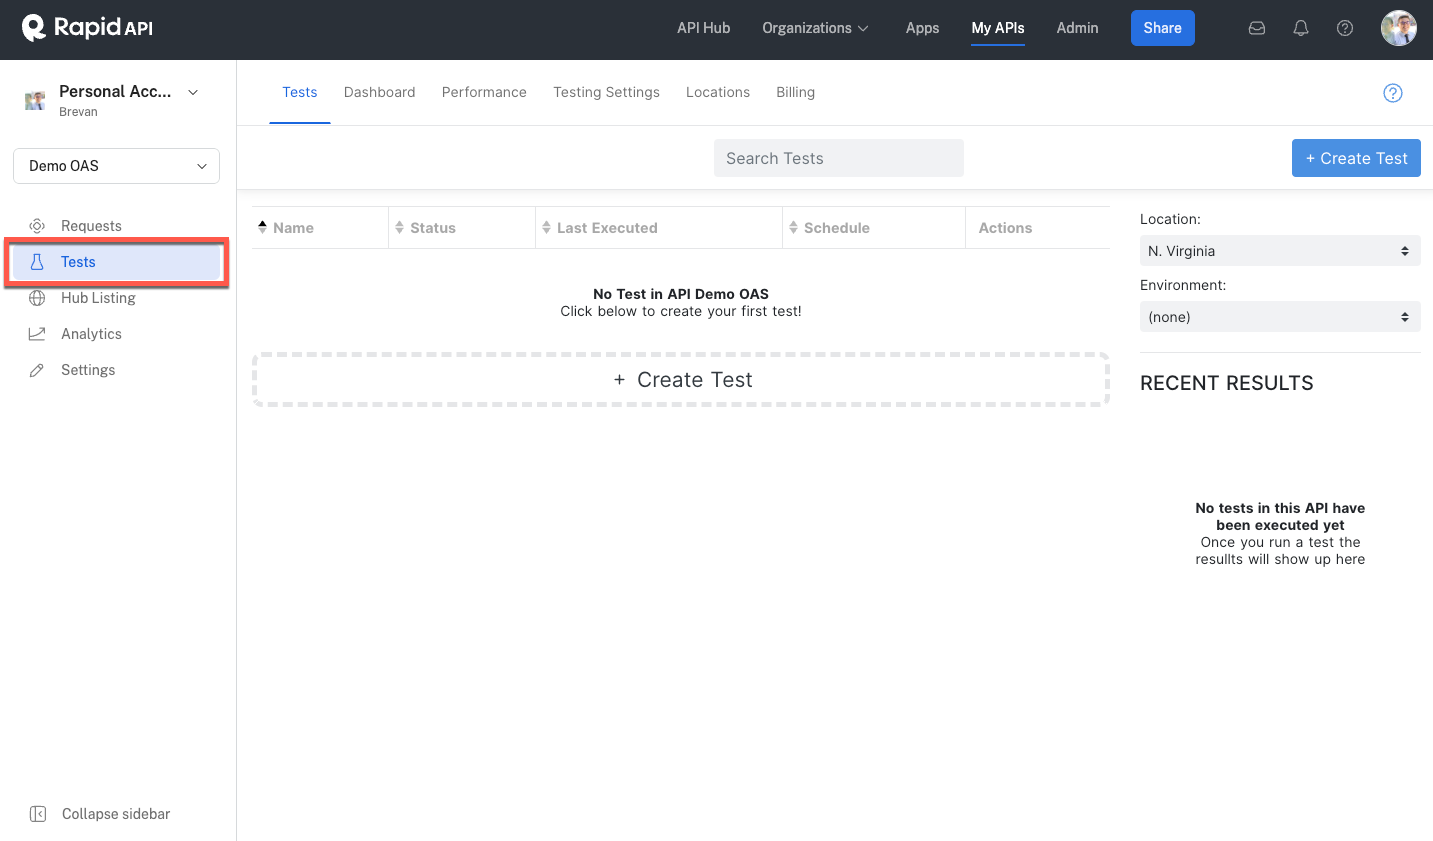
Click on Tests to enter the testing area of Studio.

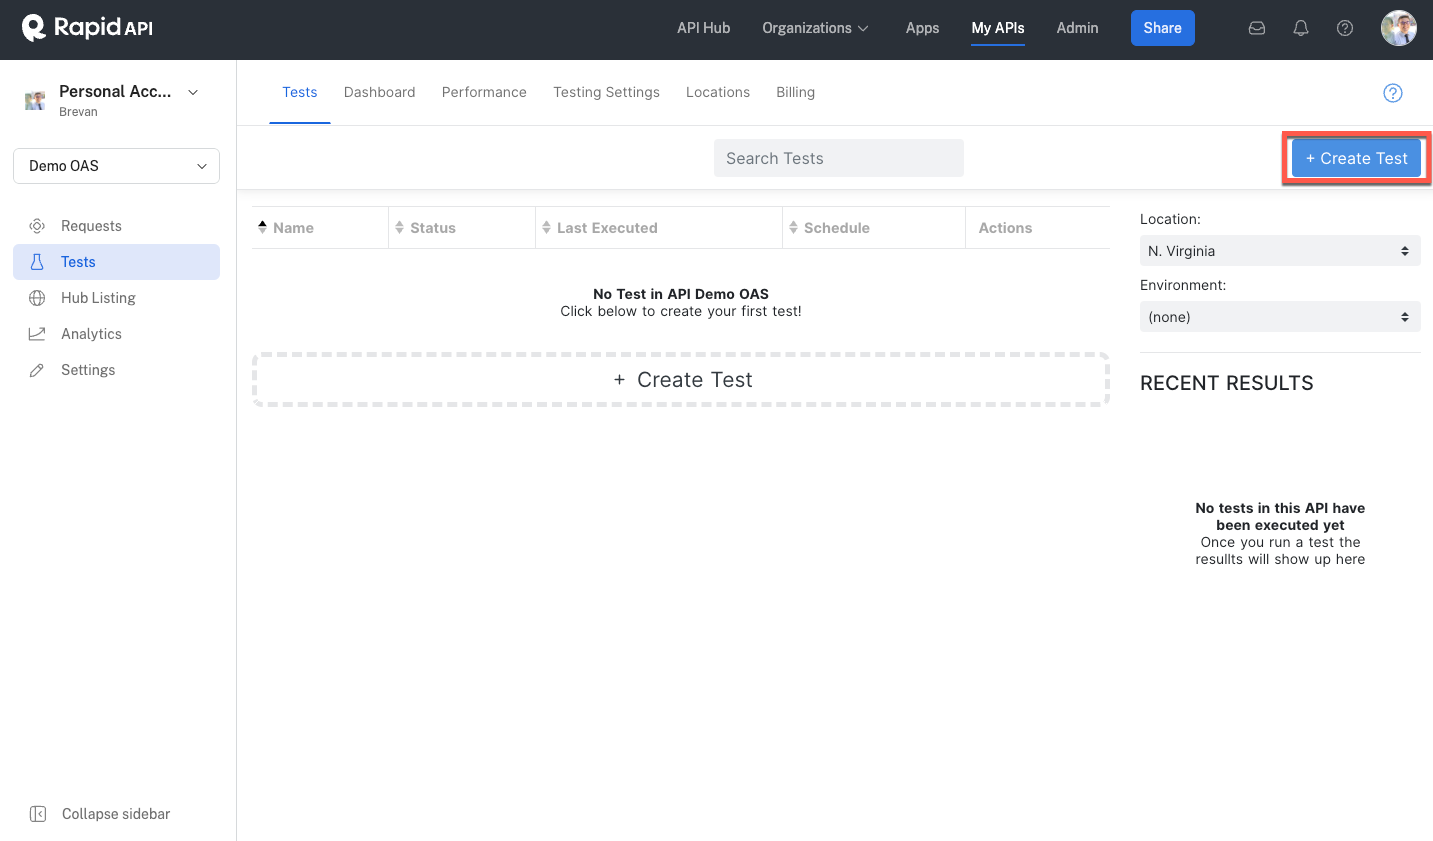
Click on + Create Test on the top right corner of the page. A dialog will then open asking you to specify a name for the API test.

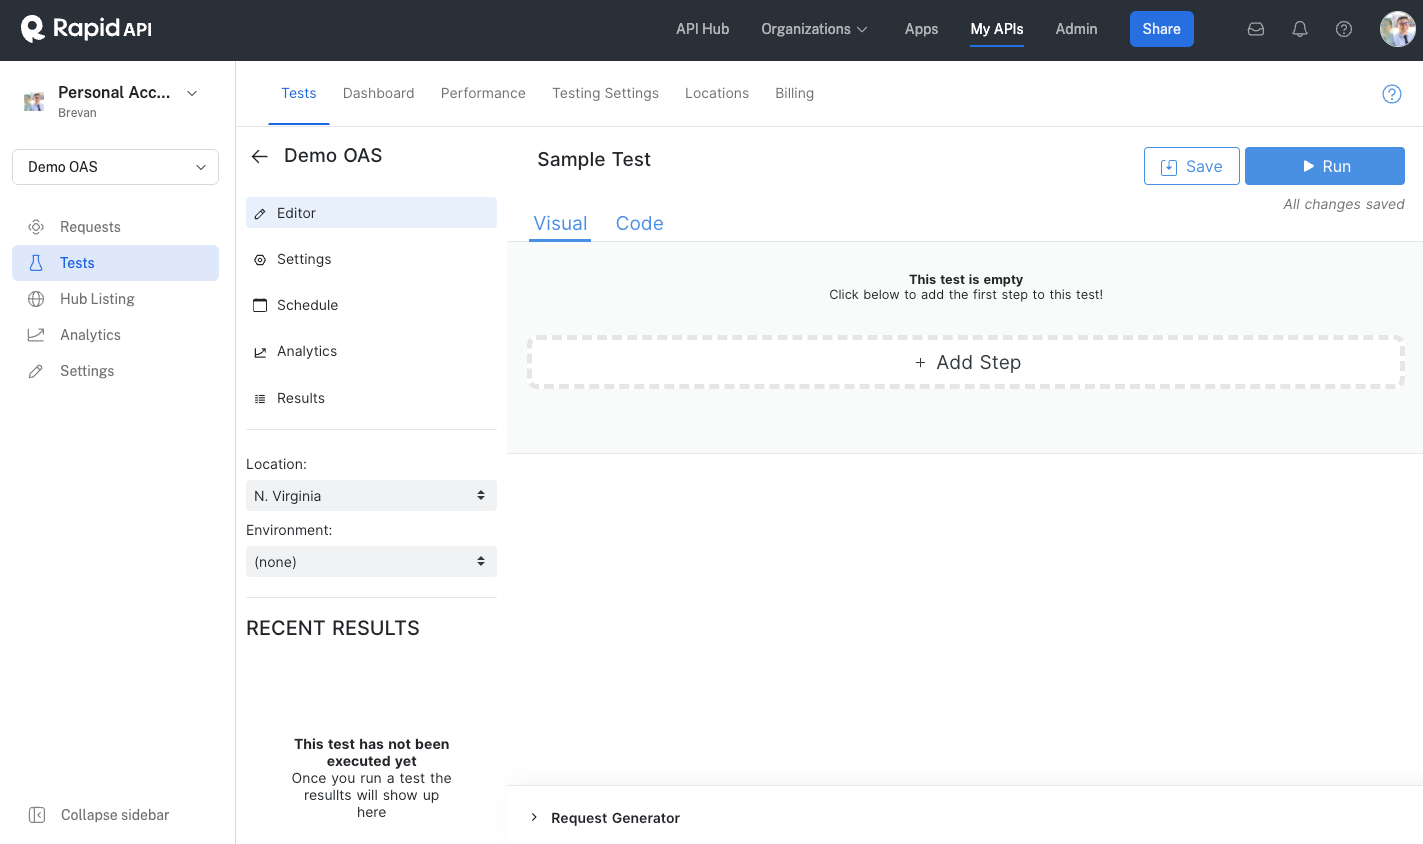
After creating a test, you will enter the test Editor. You can always access the test Editor by returning to Studio, selecting your API Project, clicking Tests in the left navigation, and choosing the API test you want to edit.

There are three ways to create a test for your API:
-
Request Generator: The Request Generator infers API properties and creates tests based on the properties. After generating a test, you can further refine the test using the visual or code editor.
-
Visual Editor (Drag-and-Drop): The visual editor lets you build test flows using RapidAPI Testing's drag-and-drop interface.
-
Code Editor: The code editor enables you to write or edit the test code directly.
Updated 8 months ago